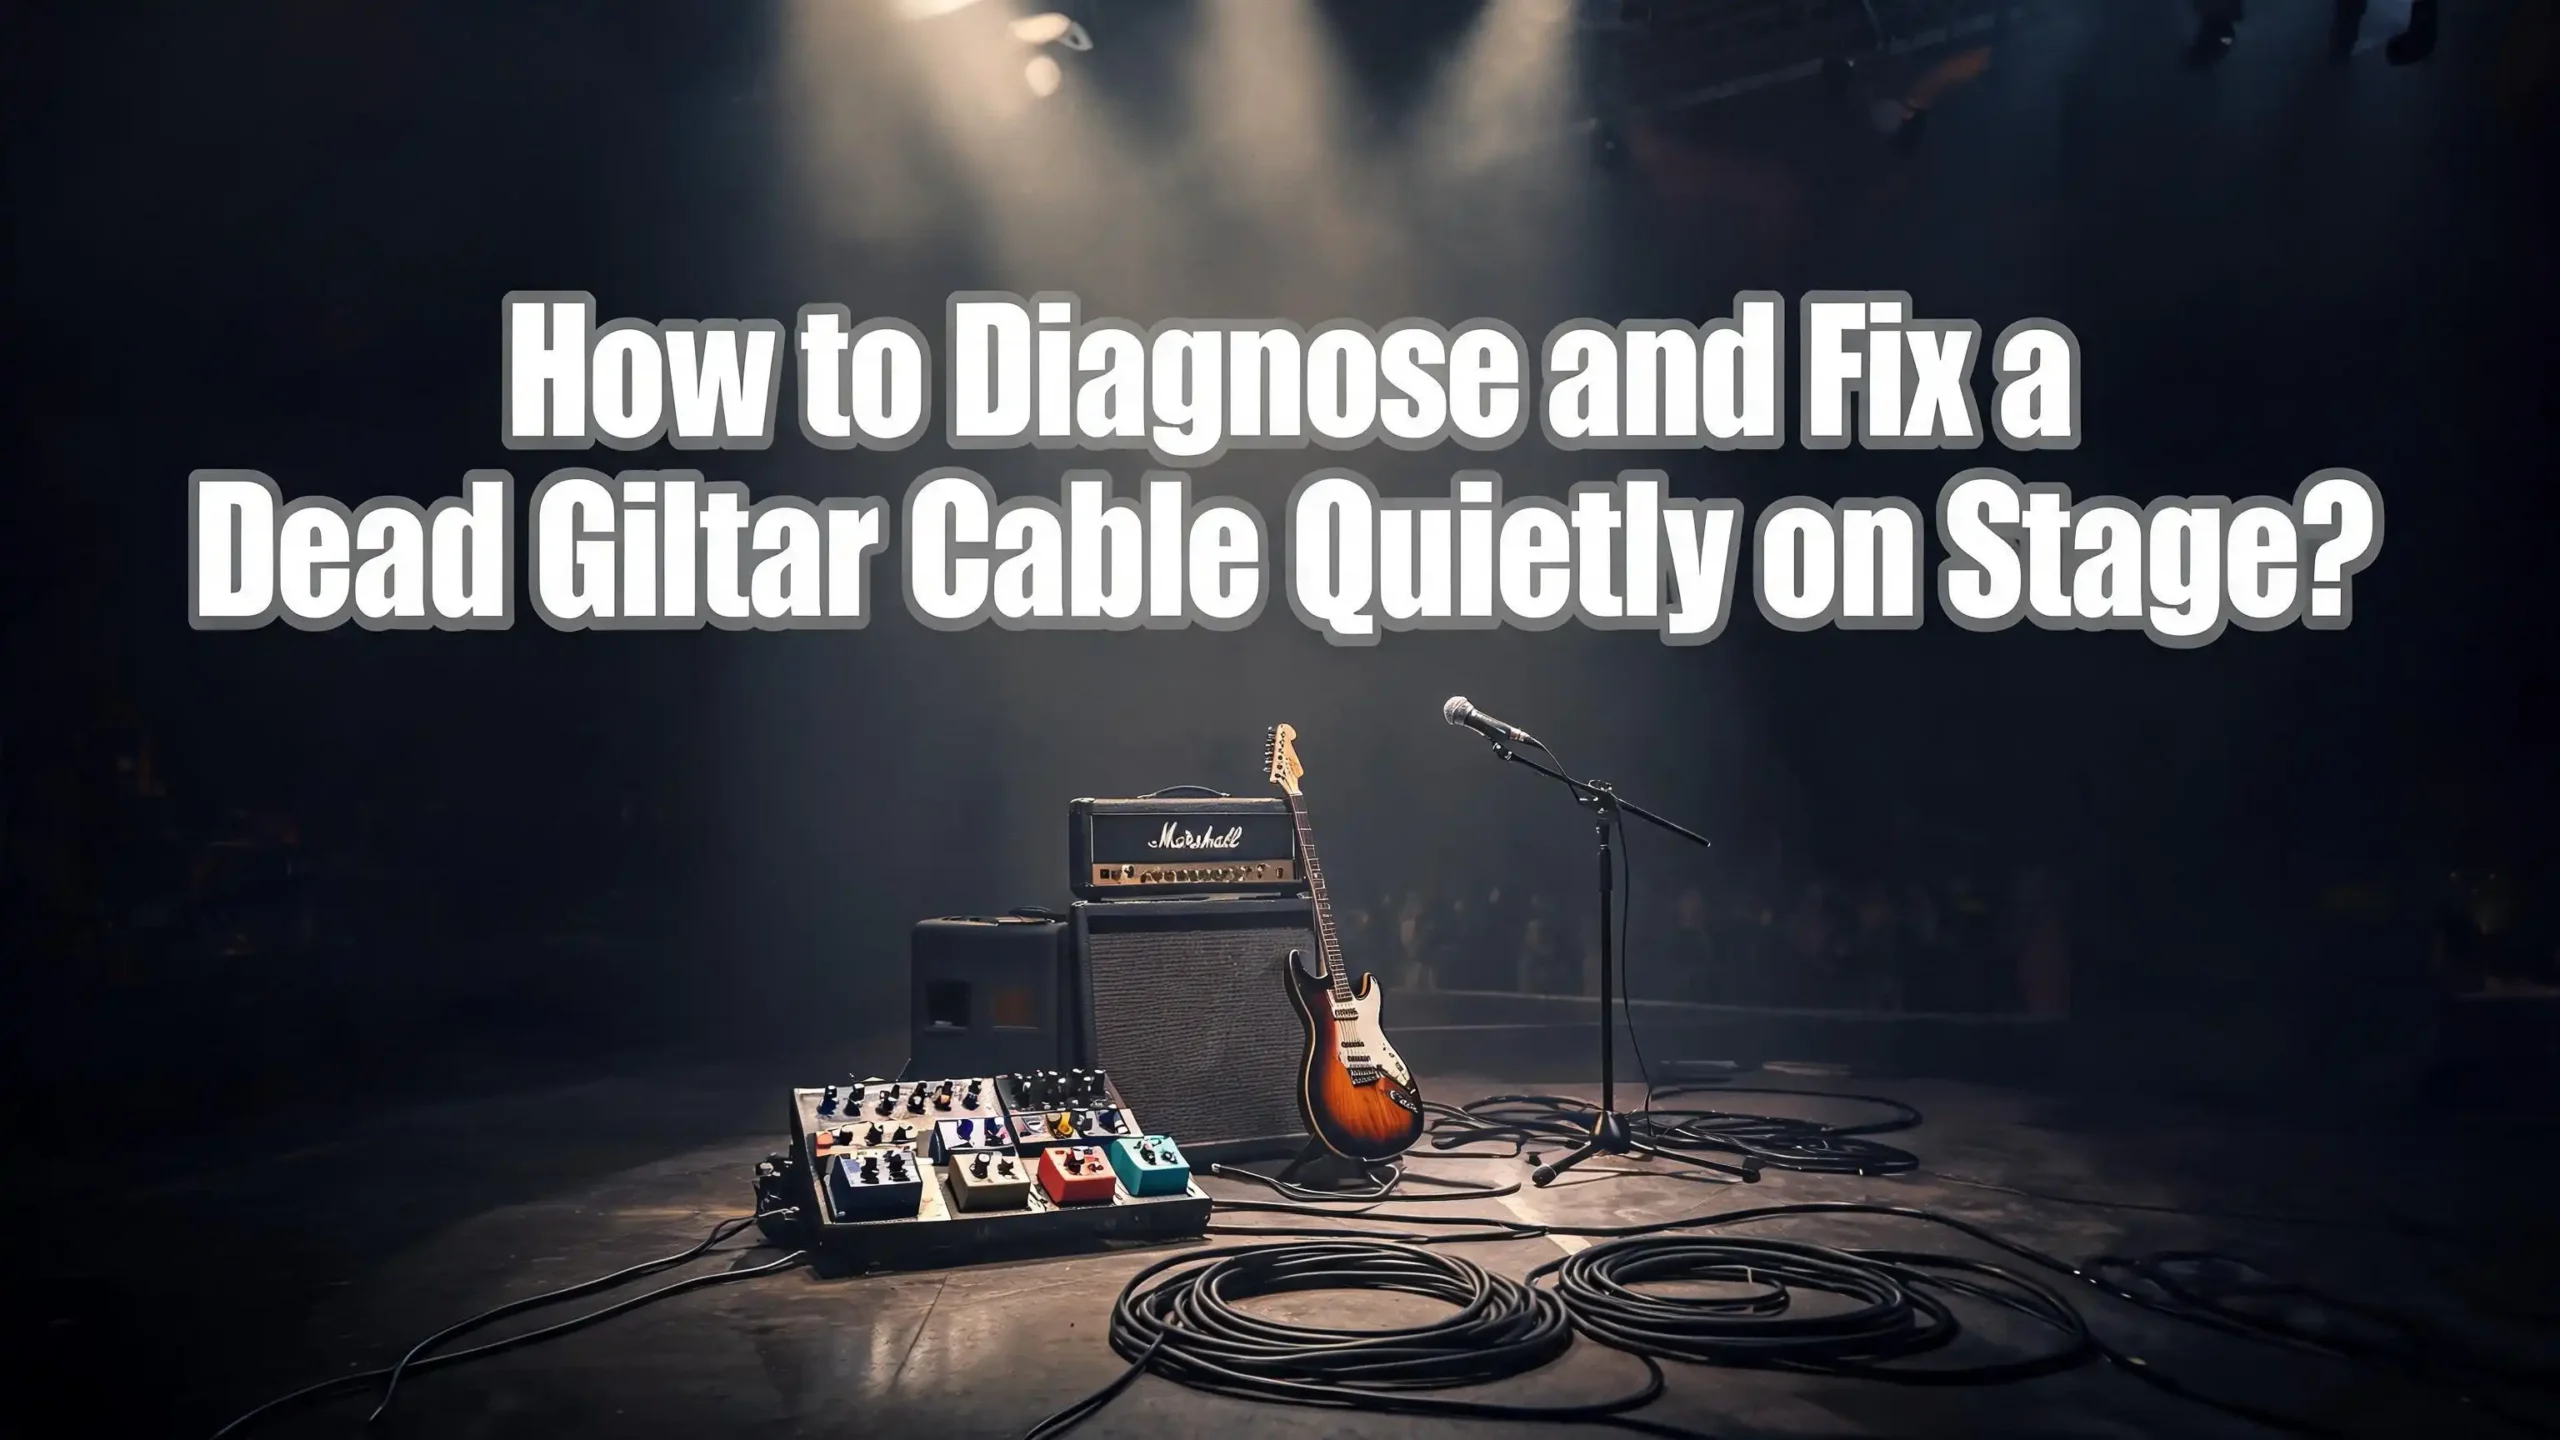
How to Diagnose and Fix a Dead Guitar Cable Quietly on Stage?
You just hit your opening chord. Nothing. Silence fills the room, and the audience stares. Your guitar cable has died in the middle of a live set, and every second of silence feels like an eternity. This is one of the most common and stressful problems a gigging guitarist will face.
A dead or failing guitar cable can ruin a performance in seconds. The good news is that you can learn to spot the warning signs early, diagnose the exact problem fast, and fix or swap your cable quietly without the audience ever knowing something went wrong.
This post gives you a clear, step by step plan for handling cable failure on stage. You will learn what causes cables to die, how to test them in real time, how to carry out emergency fixes, and how to prepare so this problem never catches you off guard again.
Key Takeaways
- A dead guitar cable is the most common cause of signal loss on stage. Before you blame your amp, pickups, or pedals, the cable is almost always the first thing to check. It is the most physically stressed part of your signal chain.
- Intermittent signal, crackling, and sudden dropouts are early warning signs. These symptoms mean your cable is close to complete failure. Catching these signs during soundcheck can prevent a mid song disaster.
- You can diagnose a cable quickly on stage by using a simple swap test. Keep a backup cable within arm’s reach so you can swap and confirm the problem in under ten seconds without saying a word to the audience.
- Emergency repairs are possible with basic tools in your gig bag. A small soldering iron, electrical tape, and a spare jack plug can get a broken cable working again during a set break.
- Proper cable storage and handling will prevent most failures before they happen. Using the over under coiling method, looping your cable through your strap, and cleaning your jack connectors regularly will extend cable life by years.
- A prepared stage emergency kit removes the panic from any equipment failure. Carrying backup cables, a cable tester, and basic repair tools means you are ready for anything.
Why Guitar Cables Fail During Live Shows
Guitar cables take more physical abuse than almost any other piece of gear in your rig. They get stepped on, yanked, twisted, coiled tightly, and dragged across dirty stage floors night after night. The constant bending and pulling puts stress on the internal copper conductors, especially near the jack connector where the wire meets the plug.
The most common point of failure is the solder joint inside the jack plug. This is where the thin copper wire connects to the metal tip or sleeve of the connector. Repeated bending at this spot causes the solder to crack or the wire to break free entirely. A cable can look perfectly fine on the outside while being completely broken on the inside.
Temperature changes also play a role. Moving from a cold van to a hot stage causes metal parts to expand and contract. This thermal cycling weakens solder joints over time. Moisture and sweat can cause oxidation on the connector tips, which leads to crackling, signal loss, or complete failure.
Stage environments are harsh on cables. Other band members step on them. Heavy equipment cases roll over them. They get caught under monitor wedges and tangled around mic stands. Each of these events creates tiny internal damage that adds up over time until the cable finally gives out, usually at the worst possible moment.
Signs Your Cable Is About to Die
A cable rarely dies without warning. There are almost always early symptoms that show up days or weeks before complete failure. Learning to recognize these signs can save you from a silent stage mid performance.
Intermittent signal is the most common early warning. Your guitar sound cuts in and out depending on how the cable is angled or positioned. You might notice the signal drops when you move a certain way or when the cable bends at a specific point near the plug. This happens because a partially broken wire inside the cable is making and losing contact as you move.
Crackling, popping, or buzzing sounds are another clear sign. These noises often appear when you wiggle the cable at the jack connector. A healthy cable produces no noise when moved. If you hear snap, crackle, or pop sounds, the internal wiring or solder joint is compromised.
A sudden drop in volume or tone quality can also indicate cable trouble. A cable with a partially broken shield wire may still pass signal but with increased noise and reduced high frequency response. Your tone sounds dull and muddy compared to a good cable.
Watch for physical damage too. Frayed outer jackets, exposed braiding, bent jack tips, and loose connector barrels all signal that the cable is on borrowed time. If you spot any of these during soundcheck, swap the cable immediately before the show starts.
How to Diagnose a Dead Cable on Stage in Seconds
Speed matters when your cable dies during a live set. You need a fast, systematic method to confirm the cable is the problem and not your guitar, amp, or pedals. Here is a reliable process you can complete in under 15 seconds.
Step one: tap the exposed end of the cable. Unplug the cable from your guitar and tap the tip of the jack with your finger. If your amp is on and working, you should hear a click or pop through the speaker. No sound means the cable or amp has a problem.
Step two: swap the cable. Grab your backup cable and plug it in. If the sound returns, you have confirmed the original cable is dead. This is the fastest and most reliable test you can do on stage. It eliminates guesswork entirely.
Step three: if you do not have a backup cable, try the wiggle test. Plug the suspect cable back in and gently wiggle it at both the guitar jack and the amp jack. If the sound cuts in and out, the failure is at the connector. If the cable is completely silent no matter what you do, the break is likely inside the cable itself.
Keep your backup cable on your pedalboard, taped to your amp, or clipped to your strap. The goal is to reach it without walking off stage or bending down to dig through a bag. Every second counts during a live performance, and preparation makes all the difference.
The Quick Swap Method for Silent Cable Changes
Swapping a dead cable on stage without the audience noticing is a skill every gigging guitarist should practice. The key is preparation, positioning, and staying calm. A smooth swap takes less than ten seconds and looks like a normal stage movement.
First, mute your signal before you unplug anything. If you have a tuner pedal with a mute function, step on it. If you have a volume pedal, roll it to zero. If neither is available, turn your guitar’s volume knob all the way down. This prevents the loud pop that happens when you pull a cable from a live signal chain.
Second, have your backup cable pre positioned. The best spot is coiled on top of your pedalboard or hanging from a hook on your amp. Some players tape a coiled backup cable to the side of their amplifier cabinet for instant access. Do not keep it buried in your gig bag across the stage.
Third, make the swap during a natural pause in the music. A song ending, a vocal section, or a drum fill are all perfect moments. Your bandmates should know a basic signal that means “cover me for a few seconds.” A nod or a glance to the drummer or bass player can buy you the time you need.
After plugging in the new cable, unmute your signal and confirm sound before jumping back into the song. The entire process should feel routine, not frantic. Practice this swap at home and during rehearsals so it becomes second nature.
Using Your Pedalboard to Mask the Problem
Your pedalboard is one of your greatest tools for handling cable failure silently. Many common pedals have features that help you mute, reroute, or mask signal problems without the audience hearing a thing.
A tuner pedal is the most valuable pedal for emergencies. Most tuner pedals mute the output signal when engaged. This gives you a completely silent window to unplug, swap, or adjust your cable. Step on the tuner, make your fix, step off, and you are back in business.
An effects loop switcher or true bypass looper can also help. If your cable failure is between specific pedals in your chain, a loop switcher lets you bypass the problem section entirely. You can reroute your signal to skip the dead connection and keep playing while you figure out the full fix later.
Volume pedals placed early in your signal chain give you instant mute capability. Roll the volume to zero, swap your cable, and roll it back up. The transition is smooth and silent.
If you use a wireless system as a backup, you can switch to wireless mode while you fix the cable issue. Some players keep a wireless transmitter plugged into their guitar as a permanent backup, even when using a standard cable as their primary connection. This gives you an instant failover option with zero silence.
The main idea is to always have a mute option within one foot movement of where you stand on stage. Planning your pedalboard layout with emergency situations in mind is just as important as planning your tone.
Emergency Repair Tools Every Guitarist Should Carry
A small emergency repair kit can turn a dead cable from a show stopper into a minor inconvenience. You do not need a full electronics workshop. A few basic tools tucked into your gig bag will cover most cable failures you will encounter.
A portable soldering iron is the most useful repair tool you can carry. Battery powered soldering irons are small, affordable, and heat up in under 30 seconds. Most cable failures happen at the solder joint inside the jack plug, and a quick re solder during a set break can bring a cable back to life.
Electrical tape is essential. It can hold a loose wire in temporary contact with a connector, insulate an exposed section of cable, and reinforce a weak spot near the plug. Electrical tape is not a permanent fix, but it can get you through the rest of a show.
A small pair of long nose pliers and a flat head screwdriver let you open jack plug housings, bend connector tabs, and hold wires in place during soldering. These tools take up almost no space in a gig bag pocket.
Spare jack plugs are also worth carrying. If a plug housing is cracked or a connector tip is bent beyond repair, you can cut the cable and attach a new plug in about five minutes. This is a permanent fix that restores the cable to full working condition.
Contact cleaner spray is another small but powerful tool. A quick spray on oxidized or dirty connectors can restore a connection that appeared dead. Sometimes the cable is fine, and the problem is just a dirty contact surface.
How to Fix a Broken Solder Joint During a Set Break
Fixing a broken solder joint is the most common cable repair you will do. This is a straightforward process that takes about three to five minutes once you have practiced it. A set break gives you enough time to complete this fix and have the cable ready for the next set.
Start by unscrewing the barrel of the jack plug. Most guitar cable plugs have a threaded metal or plastic housing that slides off to reveal the internal wiring. Inside you will see two solder points. One connects the center conductor wire to the tip terminal. The other connects the shield wire to the sleeve terminal.
Look for a wire that has pulled free from its solder point. This is the most common failure. The wire may still be close to the terminal but no longer making solid contact. You may also see a cracked or dull solder joint that has broken its bond with the wire.
Heat your soldering iron and apply a small amount of fresh solder to both the wire and the terminal. This is called tinning. Once both surfaces have a thin coat of solder, press the wire against the terminal and touch the iron to the joint. The solder will flow together and form a solid connection in about two seconds. Remove the iron and hold the wire still until the joint cools and hardens.
Do not blow on the joint to cool it faster. This can create a cold solder joint that looks solid but is actually weak and brittle. Let it cool naturally for about 15 seconds. Then screw the barrel back on, test the cable, and you are ready for the next set.
Testing Your Cable Without a Multimeter
You will not always have a multimeter on stage, but you can still test a cable effectively using your amp and guitar. These simple tests give you reliable results using gear you already have set up.
The tap test is the fastest method. Plug one end of the cable into your amp’s input jack with the amp turned on and the volume set to a moderate level. Leave the other end unplugged. Tap the tip of the free jack plug with your finger. You should hear a distinct click or buzz through the speaker. If you hear nothing, the cable has a break somewhere.
The wiggle test reveals intermittent faults. Plug the cable into both your guitar and amp. Gently bend and flex the cable along its entire length, paying special attention to the first six inches near each plug. If the signal cuts in and out or you hear crackling, you have found the area of the break.
The amp buzz test confirms your amp is working independently of the cable. Turn your amp on with nothing plugged in and increase the gain. A working amp will produce a hum or buzz on its own. This confirms the amp is not the problem and helps you isolate the cable as the fault.
If you play through a pedalboard, plug your guitar directly into the amp to bypass all pedals and patch cables. If the sound returns, the fault is somewhere in your pedalboard chain rather than in your main guitar cable. Then work backward through the chain to find the dead link.
How Proper Coiling Prevents Cable Failure
The way you coil your cable after every use has a direct impact on how long it lasts. Most cable failures start with internal wire damage caused by improper coiling and storage. Learning the correct coiling technique is one of the simplest ways to protect your cables.
The over under method is the standard technique used by professional audio engineers and stage techs worldwide. You alternate between an overhand loop and an underhand loop as you coil the cable. This creates a flat, twist free coil that unrolls smoothly without kinking or tangling.
Wrapping a cable around your elbow and hand is one of the worst things you can do. This method creates tight bends and twists in the wire that cause internal stress. Over time, the copper conductors inside develop tiny fractures. These fractures lead to intermittent signal, increased resistance, and eventual complete failure.
When you coil a cable properly, each loop should be roughly the same diameter, about 12 to 18 inches across. Let the cable fall naturally into the loop without forcing it. The cable has a natural lay direction, and working with it instead of against it prevents twisting.
Store your coiled cables hanging on hooks or pegs rather than piled in a bag. Hanging cables keeps them in their natural coil shape without compression. If you must store them in a bag, place them on top of other gear rather than underneath heavy items. A little care in storage adds months or even years to a cable’s useful life.
Building a Stage Emergency Kit for Cable Problems
Every gigging musician should have a small emergency kit within arm’s reach on stage. This kit handles cable failures and other common technical problems quickly and quietly. A well stocked kit takes up less space than a paperback book and can save an entire performance.
Your kit should include at least two backup instrument cables. One should match the length of your primary cable. The second can be shorter for direct guitar to amp connection in case your entire pedalboard goes down. Pre test these cables before every gig so you know they work.
A cable tester is a valuable addition. Small, battery powered cable testers check for continuity and shorts in seconds. You plug both ends of the cable into the tester, and LED indicators show you instantly whether the tip, ring, and sleeve connections are working. This is faster and more reliable than the amp tap test.
Include a battery powered soldering iron, a small roll of electrical tape, a tube of contact cleaner, one or two spare jack plugs, and a pair of long nose pliers. All of these items fit easily into a small zipper pouch that can live in your gig bag or attach to your pedalboard case.
Some players also carry a short adapter cable that converts from quarter inch to XLR. This can save you if you need to borrow a mic cable from the PA system in a true emergency. Thinking ahead and preparing for the worst means you will almost never have to deal with the worst.
Cleaning and Maintaining Cables Between Gigs
Regular cable maintenance takes less than five minutes and dramatically reduces the chance of failure on stage. Clean cables perform better and last longer than neglected ones.
Start with the jack connectors. Wipe the metal tips with a clean, dry microfiber cloth after every gig. Sweat, beer, dust, and grime build up on the connector surfaces and cause oxidation. Oxidized connectors create poor contact, which leads to crackling, signal loss, and increased noise.
If you notice visible corrosion or stubborn grime, use a small amount of contact cleaner spray on the connector. Spray it onto the cloth, not directly onto the plug, and wipe the tip and sleeve clean. Contact cleaner dissolves oxidation and leaves a thin protective film that slows future corrosion.
Inspect the cable jacket for cuts, cracks, or worn spots. Run your fingers along the entire length of the cable and feel for any damage. Pay close attention to the areas near the plugs where bending stress is greatest. If you find a damaged section, mark it with a small piece of tape so you remember to repair or replace it before the next gig.
Check that the jack plug barrels are tight. Loose barrels allow the plug to twist inside the housing, which puts stress on the solder joints. Tighten them by hand or with a gentle twist from pliers. Keeping everything snug prevents the small movements that lead to broken connections over time.
Why You Should Always Carry a Backup Cable
Carrying a backup cable is not optional for gigging musicians. It is essential. No amount of maintenance eliminates the possibility of cable failure. Cables are physical objects that endure constant stress, and every cable will eventually wear out.
A backup cable turns a potential disaster into a five second fix. Without one, a dead cable means silence until you find a solution. With one, you swap, play, and deal with the broken cable later. The audience never knows anything went wrong.
Your backup cable should be tested before every gig. A backup that has been sitting untested in your bag for six months might also be dead. Plug it in during soundcheck and confirm it works. Then coil it properly and place it in your pre planned spot on stage.
Some guitarists carry two backups of different lengths. A full length cable matches their normal setup. A shorter cable lets them plug directly into the amp if the pedalboard also has issues. This layered approach means you have a plan B and a plan C ready to go at all times.
The cost of a backup cable is tiny compared to the cost of a ruined gig. Lost audience trust, embarrassment in front of other musicians, and potential lost bookings all carry a much higher price. A spare cable coiled neatly on your amp is cheap insurance for every performance.
Preventing Cable Problems Before They Start
Prevention is always better than repair. A few simple habits protect your cables from the damage that causes failure on stage. These habits take almost no extra time but save you real money and stress.
Loop your cable through your guitar strap before plugging it in. This creates slack near the jack and acts as a strain relief. If you step on the cable or move too far from your amp, the pull goes to the strap instead of the plug. This one trick prevents the most common cause of cable failure: a yanked connector.
Never pull a cable out by the cord itself. Always grip the plug body and pull straight out. Yanking on the cable puts all the force on the internal solder joints, which is exactly where most breaks occur. Make this a habit every time you unplug, whether on stage, at rehearsal, or at home.
Avoid running cables across high traffic areas of the stage where other band members walk. Use cable tape or a cable ramp to protect cables that must cross walkways. A single step from a heavy boot on a cable pressed against a hard stage floor can create internal damage that shows up weeks later as intermittent signal.
Choose the right cable length for your needs. A cable that is too long gets tangled and stepped on. A cable that is too short gets stretched and pulled at the connectors. Match your cable length to the distance between your guitar and your amp or pedalboard with just enough extra slack for comfortable movement on stage.
Frequently Asked Questions
How do I know if my guitar cable is dead or if my amp has a problem?
Plug a different cable into your amp and guitar. If the sound returns, the original cable is dead. You can also test the amp by turning it on with nothing plugged in and increasing the gain. A working amp will produce a natural hum or buzz on its own. If the amp is completely silent with the volume up, the problem may be the amp rather than the cable.
Can I fix a guitar cable on stage during a song?
A full repair is not practical during a song. The best approach is to swap to a backup cable, which takes about five to ten seconds. Mute your signal with a tuner pedal or volume knob, make the swap, and unmute. Save the actual repair for a set break or after the show.
What is the most common reason guitar cables stop working?
The most common cause is a broken solder joint inside the jack plug. Repeated bending and pulling near the connector causes the wire to separate from the solder point. This happens gradually and often shows up first as intermittent signal before becoming a complete failure.
How often should I replace my guitar cables?
There is no fixed timeline. A well maintained cable from a quality manufacturer can last several years. Inspect your cables before every gig. Replace any cable that shows intermittent signal, crackling, physical damage to the jacket, or bent connector tips. Prevention and proper handling extend cable life significantly.
Is a wireless system better than a cable for live shows?
Wireless systems eliminate cable failure risk but introduce other potential problems like signal dropouts, battery life, and frequency interference. Many professional guitarists use a cable as their primary connection and keep a wireless system as a backup. This gives you the reliability of a direct connection with a failover option if the cable dies.
What should I keep in a stage emergency kit for cable problems?
Your kit should include at least two tested backup cables, a battery powered soldering iron, electrical tape, contact cleaner spray, spare jack plugs, long nose pliers, and a small cable tester. All of these items fit into a small pouch and can be stored in your gig bag or pedalboard case for instant access during a show.

Hi, I’m Tessa! As a lifelong music lover and gear enthusiast, I started this blog to help fellow musicians navigate the overwhelming world of instruments and equipment. I spend my time researching, comparing, and reviewing musical gear so you can spend yours doing what matters most — making music.