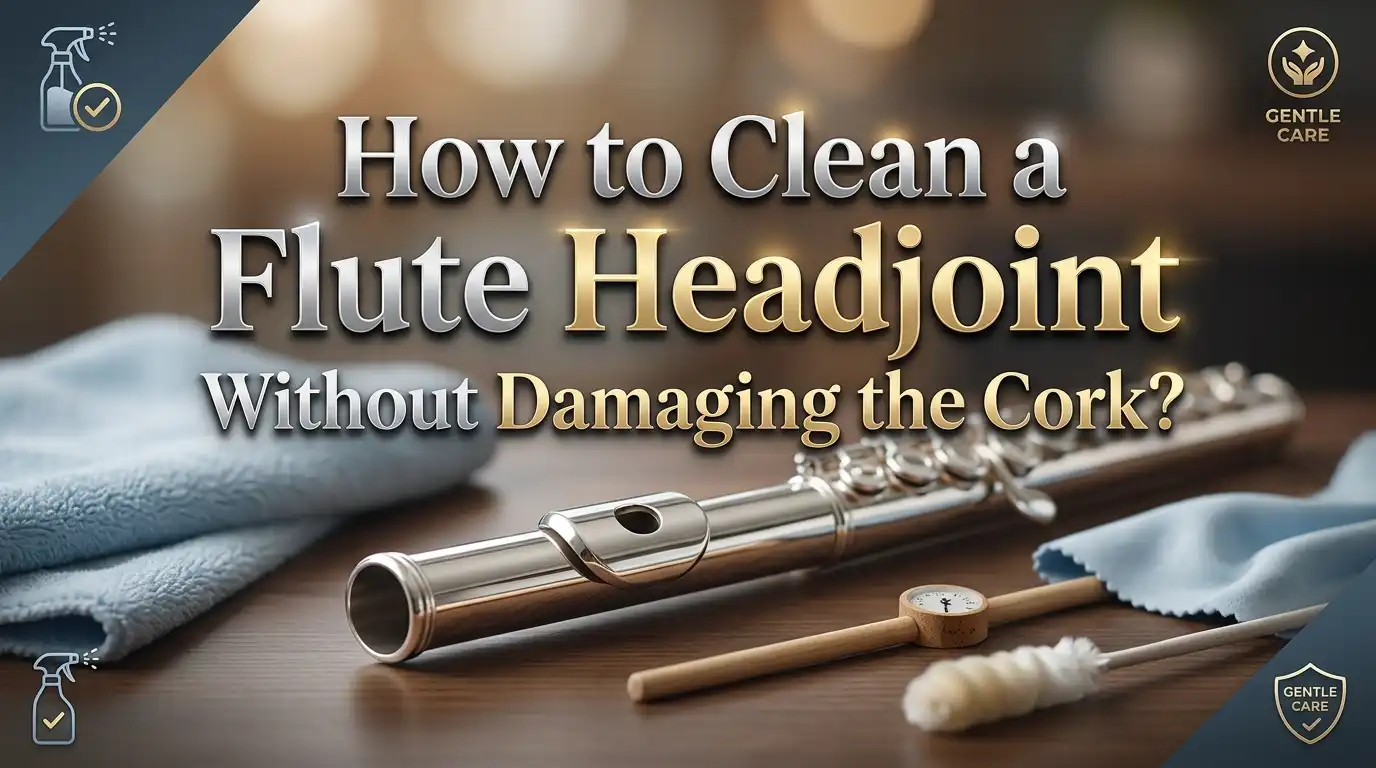
How to Clean a Flute Headjoint Without Damaging the Cork?
Your flute headjoint produces the core of your sound. Every note, every phrase, and every musical color starts right there at the embouchure hole. But moisture, oils, and residue build up inside the headjoint after every playing session.
If you ignore this buildup, it affects your tone quality, your response, and even your intonation. The tricky part? There is a small but critical cork assembly sitting at the top of your headjoint. This cork creates an airtight seal that controls pitch and tuning.
The good news is that cleaning your flute headjoint safely is a simple process once you know the right steps. You do not need special training or expensive equipment. You just need the correct technique, a few basic supplies, and an understanding of what to avoid.
This guide walks you through every step in plain language so you can keep your headjoint clean, your cork intact, and your flute sounding its best.
Key Takeaways
- Swab your headjoint after every playing session. Moisture collects near the cork and can cause mold growth, cork swelling, and a decline in sound quality. A quick swab takes less than 30 seconds and prevents long term damage.
- Always wrap your cleaning cloth over the tip of the cleaning rod. Bare metal can scratch the inside of your headjoint and chip the cork plate. The cloth must cover the rod tip completely before you insert it.
- Never force the cleaning rod toward the cork end with pressure. Pushing too hard can shift the cork out of its correct 17.3mm position, which directly affects your flute’s intonation and pitch accuracy.
- Deep clean your headjoint with warm soapy water once a week or as needed. Use a mild dish soap and warm water. Remove the cork assembly first if you are comfortable doing so, or clean carefully around it if not.
- Check your cork position regularly using the mark on your cleaning rod. The engraved line should appear centered in the embouchure hole. If the line is off center, your cork may have shifted and needs adjustment.
- Replace the cork every one to two years through a qualified repair technician. Cork naturally shrinks and dries out over time. A fresh cork improves response, tone quality, and tuning stability.
Why the Headjoint Cork Matters So Much
The cork assembly inside your flute headjoint is not just a plug. It serves a precise acoustic function. The cork sits at the closed end of the headjoint tube, exactly 17.3mm from the center of the embouchure hole. This measurement is critical because it determines the reflection point for sound waves inside the tube.
If the cork shifts even a small amount from this position, your flute will not play in tune. Moving the cork closer to the crown makes high notes flat and low notes sharp. Moving it closer to the embouchure hole does the opposite. This is why protecting the cork during cleaning is so important.
The cork is made from natural bark of a Portuguese oak tree. It is compressed to fit snugly inside the tapered end of the headjoint. Over time, this natural material can dry out, shrink, or develop mold if exposed to excess moisture. A well maintained cork creates a tight, airtight seal that gives your flute full resonance and clear response. A damaged or poorly positioned cork makes the flute sound dull and unfocused.
What You Need Before You Start Cleaning
Gather your supplies before you begin. Having everything within reach prevents unnecessary handling of the headjoint and reduces the risk of accidents. You do not need many items. Keep it simple and stick to soft, non abrasive materials.
You will need a cleaning rod (the metal or plastic rod that came with your flute), a soft cleaning cloth such as silk, cotton, or microfiber, and a separate polishing cloth for the exterior. If you plan to do a deeper clean, have some mild dish soap and access to warm water ready.
A plastic cleaning rod is safer than a metal one because it will not scratch the interior of your headjoint if the cloth slips. If you only have a metal rod, make sure you wrap the cloth generously around the tip. Never insert a bare metal rod into the headjoint.
Keep a separate cloth for the inside and outside of your flute. The cloth that wipes moisture from inside should not be the same one that touches the oils and residue on the exterior. Using the same cloth for both transfers grime back and forth and defeats the purpose of cleaning.
How to Swab the Headjoint After Every Practice
The most important cleaning habit is swabbing out moisture immediately after you play. When you blow into the flute, warm breath condenses inside the tube. This moisture pools near the cork and along the interior walls. If left sitting, it promotes mold growth and can degrade the cork over time.
Start by separating the headjoint from the body of the flute. Hold it at the tenon end (the open end that connects to the body). Gently shake out any water droplets from the open end before inserting the cleaning rod.
Thread one corner of your cleaning cloth through the slot or eye of your cleaning rod. Wrap the cloth over the top of the rod so the fabric covers the metal tip completely. This cushion of fabric protects the headjoint walls and the cork plate from scratches.
Insert the cloth covered rod into the headjoint from the tenon end. Push it gently all the way up to the cork. Do not jab or push forcefully against the cork. Let the cloth make light contact with the cork area to absorb moisture. Rotate the rod slowly to wipe the interior walls. Pull the rod out carefully and repeat once or twice if needed.
The Right Way to Clean the Inside Without Hitting the Cork
The biggest risk during interior cleaning is bumping the cork plate with the cleaning rod. The plate at the end of the cork assembly is a small metal disc. Repeated impacts from the rod can leave pock marks and scratches on the plate surface. These imperfections affect the seal and can change the acoustic properties of the headjoint.
To avoid this, pay attention to how far you insert the rod. When the cloth reaches the end of the headjoint, you will feel gentle resistance. Stop as soon as you feel this. There is no need to push the rod hard against the cork plate.
If you use a silk or thin cloth, make sure it bunches up enough at the rod tip to create a soft buffer. The cloth should reach the cork before the rod does. This way, even if you push slightly too far, the soft fabric absorbs the contact rather than the hard rod.
Some flutists prefer to use a microfiber pouch swab instead of a cleaning rod. These swabs are pulled through the headjoint using a weighted string. They are very effective at reaching the corners near the cork and they eliminate the risk of rod impact entirely. This is a safe alternative for anyone who worries about accidental cork damage.
How to Deep Clean the Headjoint With Soap and Water
A weekly deep clean removes buildup that regular swabbing cannot reach. Oils from your skin, residue from lip products, and mineral deposits from saliva accumulate over time. A deep clean restores brightness and response to the headjoint sound.
Use warm water and a small amount of mild dish soap. The soap should be clear and free from moisturizers or added fragrances. Opaque soaps often contain lotions that leave a film inside the headjoint. This film repels water and can coat the cork.
Run warm (not hot) soapy water through the headjoint. Use your cleaning rod with a soft cloth to gently scrub the interior. Pay special attention to the area inside the embouchure riser or chimney, where buildup is common. Rinse thoroughly with warm water afterward.
While washing, do not grip the embouchure plate or lip plate. Squeezing this area can loosen the solder joint or bend the plate. Hold the headjoint by the tube itself. Dry the inside completely with a clean, dry cloth on the rod. Dry the outside with a smooth lint free towel. Any remaining moisture near the cork will be absorbed naturally within a few minutes if the interior is mostly dry.
Removing the Cork Assembly for a Thorough Clean
Some flutists remove the cork assembly for deep cleaning. This allows you to wash the entire interior of the headjoint tube without worrying about wetting the cork. This step is optional and should only be done if you feel confident in the process.
First, loosen the crown by turning it a few turns to the left. The crown is the small cap at the top of the headjoint. Once loosened, hold the headjoint at the tenon end. Place the crown end gently on a soft surface like a folded towel or pot holder.
Press down to “pop” the cork assembly free from its seated position. The cork should release from the tapered section. Then use a blunt tool (a special ejection rod or the end of a wooden swab stick) to gently push the cork assembly out through the tenon end. Never force it toward the crown end of the tube. This can cause serious damage to the headjoint.
Once the cork is out, inspect it carefully. Look for cracks, dryness, mold, or areas where the cork is pulling away from the metal plate. If the cork is damaged, take it to a repair technician for replacement. Do not attempt to reuse a cork that is visibly worn.
How to Inspect Your Cork for Damage
Regular cork inspection helps you catch problems early. A healthy cork is smooth, slightly springy, and fits snugly inside the headjoint. It should create a complete seal that allows no air to pass around it.
To test the seal, remove the headjoint from the flute. Cover the open tenon end completely with the palm of your hand. Blow gently into the embouchure hole. If you feel air leaking from the crown end, the cork seal is compromised. A good cork will hold the air pressure with no leaks.
Look at the cork surface for water stains, dark spots, or visible mold. Any of these signs mean the cork needs replacement. Also check the metal plate at the center of the cork assembly. If this plate has deep scratches or pock marks from cleaning rod impacts, it may need to be replaced as well.
A cork that has shrunk will feel loose inside the headjoint. You may notice the crown becoming loose more often, or the headjoint may sound weak and unfocused. Shrinkage happens naturally over one to two years because the cork loses its natural moisture. Annual checkups with a technician catch this before it becomes a problem.
Mistakes That Damage the Cork During Cleaning
Several common cleaning habits cause unnecessary cork damage. Knowing these mistakes helps you avoid them. The most frequent error is jabbing the cleaning rod into the cork plate. This happens when you insert the rod too quickly or push it in without paying attention.
Another mistake is using hot water near the cork. Hot water causes the cork to expand and then contract as it cools. Repeated expansion and contraction cycles weaken the cork material and loosen its seal. Always use lukewarm or warm water, never hot.
Leaving the headjoint wet without drying it is another common problem. Moisture sitting against the cork promotes mold and bacterial growth. Some flutists store a wet swab inside the headjoint body, which keeps the entire tube damp for hours. Always dry the headjoint completely before storing it in the case.
Using harsh chemicals is also risky. Rubbing alcohol is acceptable for wiping the exterior of the embouchure plate, but it should not be poured inside the headjoint or applied directly to the cork. Alcohol dries out natural cork and accelerates shrinkage. Nail polish remover can clean gummy residue from the tenon but should be kept far from the cork.
How to Clean the Embouchure Plate and Lip Plate Safely
The outside of the headjoint needs attention too, especially around the embouchure plate where your lips make contact. Skin oils, sweat, and sometimes traces of lip balm or makeup accumulate here. This residue can cause the lip plate to feel slippery and affect your embouchure stability.
Wipe the embouchure plate gently with a soft cloth after every playing session. A small amount of rubbing alcohol on the cloth helps remove oily residue. This keeps the surface clean and provides a consistent feel the next time you play.
Do not press hard on the lip plate while cleaning. The lip plate is soldered to the headjoint tube, and excessive pressure can loosen this joint. Use light, circular motions with a soft cloth. If you wear rings or other jewelry while handling the headjoint, remove them first. Metal on metal contact can scratch or dent the surface near the embouchure hole.
A scratch or nick on the blowing edge of the embouchure hole is especially serious. Even a tiny imperfection on this edge can cause the headjoint to play with an unfocused, airy sound. Handle this area with extra care during every cleaning session.
How to Check and Adjust Cork Position After Cleaning
After any cleaning session, especially a deep clean, verify the cork position. The line on your cleaning rod is your reference tool. Insert the line end of the rod gently into the headjoint until it touches the cork plate. Look through the embouchure hole and note where the line appears.
The line should be centered in the embouchure hole. If it appears off to one side, rotate the headjoint 180 degrees and look again. Sometimes the angle of viewing creates an illusion. If the line appears off center from both directions, the cork has shifted and needs adjustment.
To move the cork closer to the embouchure hole, unscrew the crown a turn or two. Push the crown gently to slide the cork down. Check the line position after each small movement. To move the cork away from the embouchure hole, tighten the crown. The threaded rod inside the assembly will pull the cork upward as you screw the crown in.
Never force the cork assembly by pushing it with the cleaning rod. If the cork will not move with gentle crown adjustments, take it to a technician. Forcing the assembly can push it too far into the tapered section and potentially damage the headjoint tube. Patience and small adjustments are the keys to getting this right.
How Often Should You Clean Your Headjoint
The frequency of cleaning depends on how often and how long you play. The basic rule is swab the inside after every single playing session. This takes less than a minute and prevents the majority of buildup and moisture damage.
A full wash with warm soapy water should happen once a week for regular players. If you practice several hours daily, you may want to wash the headjoint more often. Some professional flutists wash their headjoints every two or three days. Listen to your flute. If the tone starts sounding dull or stuffy, it is time for a wash.
The exterior wipe down should also happen after every session. Your skin produces oils throughout the day. These oils cause tarnish on silver flutes and can corrode the surface over time. Wiping the headjoint takes just a few seconds and keeps the metal looking and feeling clean.
An annual service with a qualified technician is also essential. During a clean, oil, and adjust (COA) service, the technician will check the cork, replace it if needed, and clean areas you cannot easily access at home. Think of this annual visit as a health checkup for your flute.
Storing Your Headjoint to Protect the Cork
Proper storage prevents cork damage between playing sessions. Always store your flute in its case in a room temperature environment. Extreme heat causes the cork to dry out and shrink. Extreme cold can make the cork brittle. Avoid leaving your flute in a hot car, near a radiator, or in direct sunlight.
Before closing the case, make sure the headjoint is completely dry inside and out. A damp headjoint in a closed case creates a humid microenvironment perfect for mold. Mold on the cork is a common reason for replacement and it is entirely preventable with proper drying.
Do not store your swab inside the headjoint or body of the flute. The swab holds absorbed moisture and releases it slowly back into the tube. Store swabs in a separate compartment of your case or outside the case entirely. Let them air dry between sessions.
Adding anti tarnish strips to your case can help reduce surface oxidation on the headjoint. These strips absorb airborne chemicals that cause tarnish. They do not affect the cork but they keep the metal surfaces cleaner for longer between polishing sessions.
When to See a Professional for Cork Replacement
There are clear signs that tell you the cork needs professional attention. If the crown turns freely without resistance, the cork has shrunk and lost its seal. If you hear air leaking during the palm test described earlier, the seal is broken.
Visible mold, dark water stains, or a musty smell from the headjoint all indicate cork deterioration. A cork that has become so dry it is hard and rigid will not create a proper seal. These signs mean it is time for a replacement.
Most repair technicians recommend replacing the cork every one to two years as a standard part of flute maintenance. The cost is low and the process takes only a few minutes in a repair shop. A fresh cork can make a noticeable difference in your flute’s response and tonal clarity.
If you notice persistent tuning problems despite proper headjoint position, the cork may be the cause. A worn cork allows micro air leaks that affect pitch stability. Before spending money on other repairs or adjustments, have the cork checked. It is often the simplest and least expensive fix that produces the biggest improvement in sound.
FAQ
Can I use rubbing alcohol to clean the inside of my headjoint?
Rubbing alcohol is safe for wiping the exterior of the embouchure plate to remove skin oils. However, you should avoid pouring or spraying alcohol inside the headjoint. Alcohol is a drying agent that can strip moisture from the cork material. This accelerates cork shrinkage and weakens the seal over time. Stick to warm water with mild dish soap for interior cleaning.
How do I know if my flute headjoint cork needs replacement?
Perform a simple seal test. Cover the open end of the headjoint with your palm and blow gently into the embouchure hole. If air leaks from the crown end, the cork seal is broken. Other signs include a loose crown that spins freely, visible mold or dark stains on the cork, a musty smell, and persistent tuning issues. Most corks last one to two years with normal use.
Is it safe to remove the cork assembly at home?
Yes, you can remove the cork assembly at home if you follow the correct steps. Loosen the crown, pop the assembly free, and push it out gently through the tenon end. Never force the cork toward the crown end of the tube. If the cork feels stuck or you are unsure about the process, take it to a qualified repair technician instead.
What type of cloth should I use to clean my headjoint?
Use a soft, lint free cloth such as silk, clean cotton, or microfiber. Avoid rough fabrics, paper towels, or tissues that can leave fibers behind. Microfiber pouch swabs are highly absorbent and reach the corners near the cork effectively. Always wrap the cloth over the tip of your cleaning rod so the metal never contacts the inside of the headjoint.
Can I use cork grease on my flute headjoint cork?
No. Cork grease is made for clarinet and oboe tenon corks, not flute headjoint corks. The flute headjoint cork sits inside the tube and relies on a dry, tight compression fit. Adding grease can attract dirt, alter the fit, and interfere with the acoustic seal. If your headjoint cork feels dry or loose, have it replaced by a technician rather than trying to lubricate it.
How far should the cork be from the embouchure hole?
The standard measurement is 17.3mm from the center of the embouchure hole to the face of the cork plate. Your cleaning rod has an engraved line near one end that marks this distance. Insert the line end into the headjoint until it touches the cork plate. The line should appear centered in the embouchure hole. If it is off center, the cork position needs adjustment.

Hi, I’m Tessa! As a lifelong music lover and gear enthusiast, I started this blog to help fellow musicians navigate the overwhelming world of instruments and equipment. I spend my time researching, comparing, and reviewing musical gear so you can spend yours doing what matters most — making music.