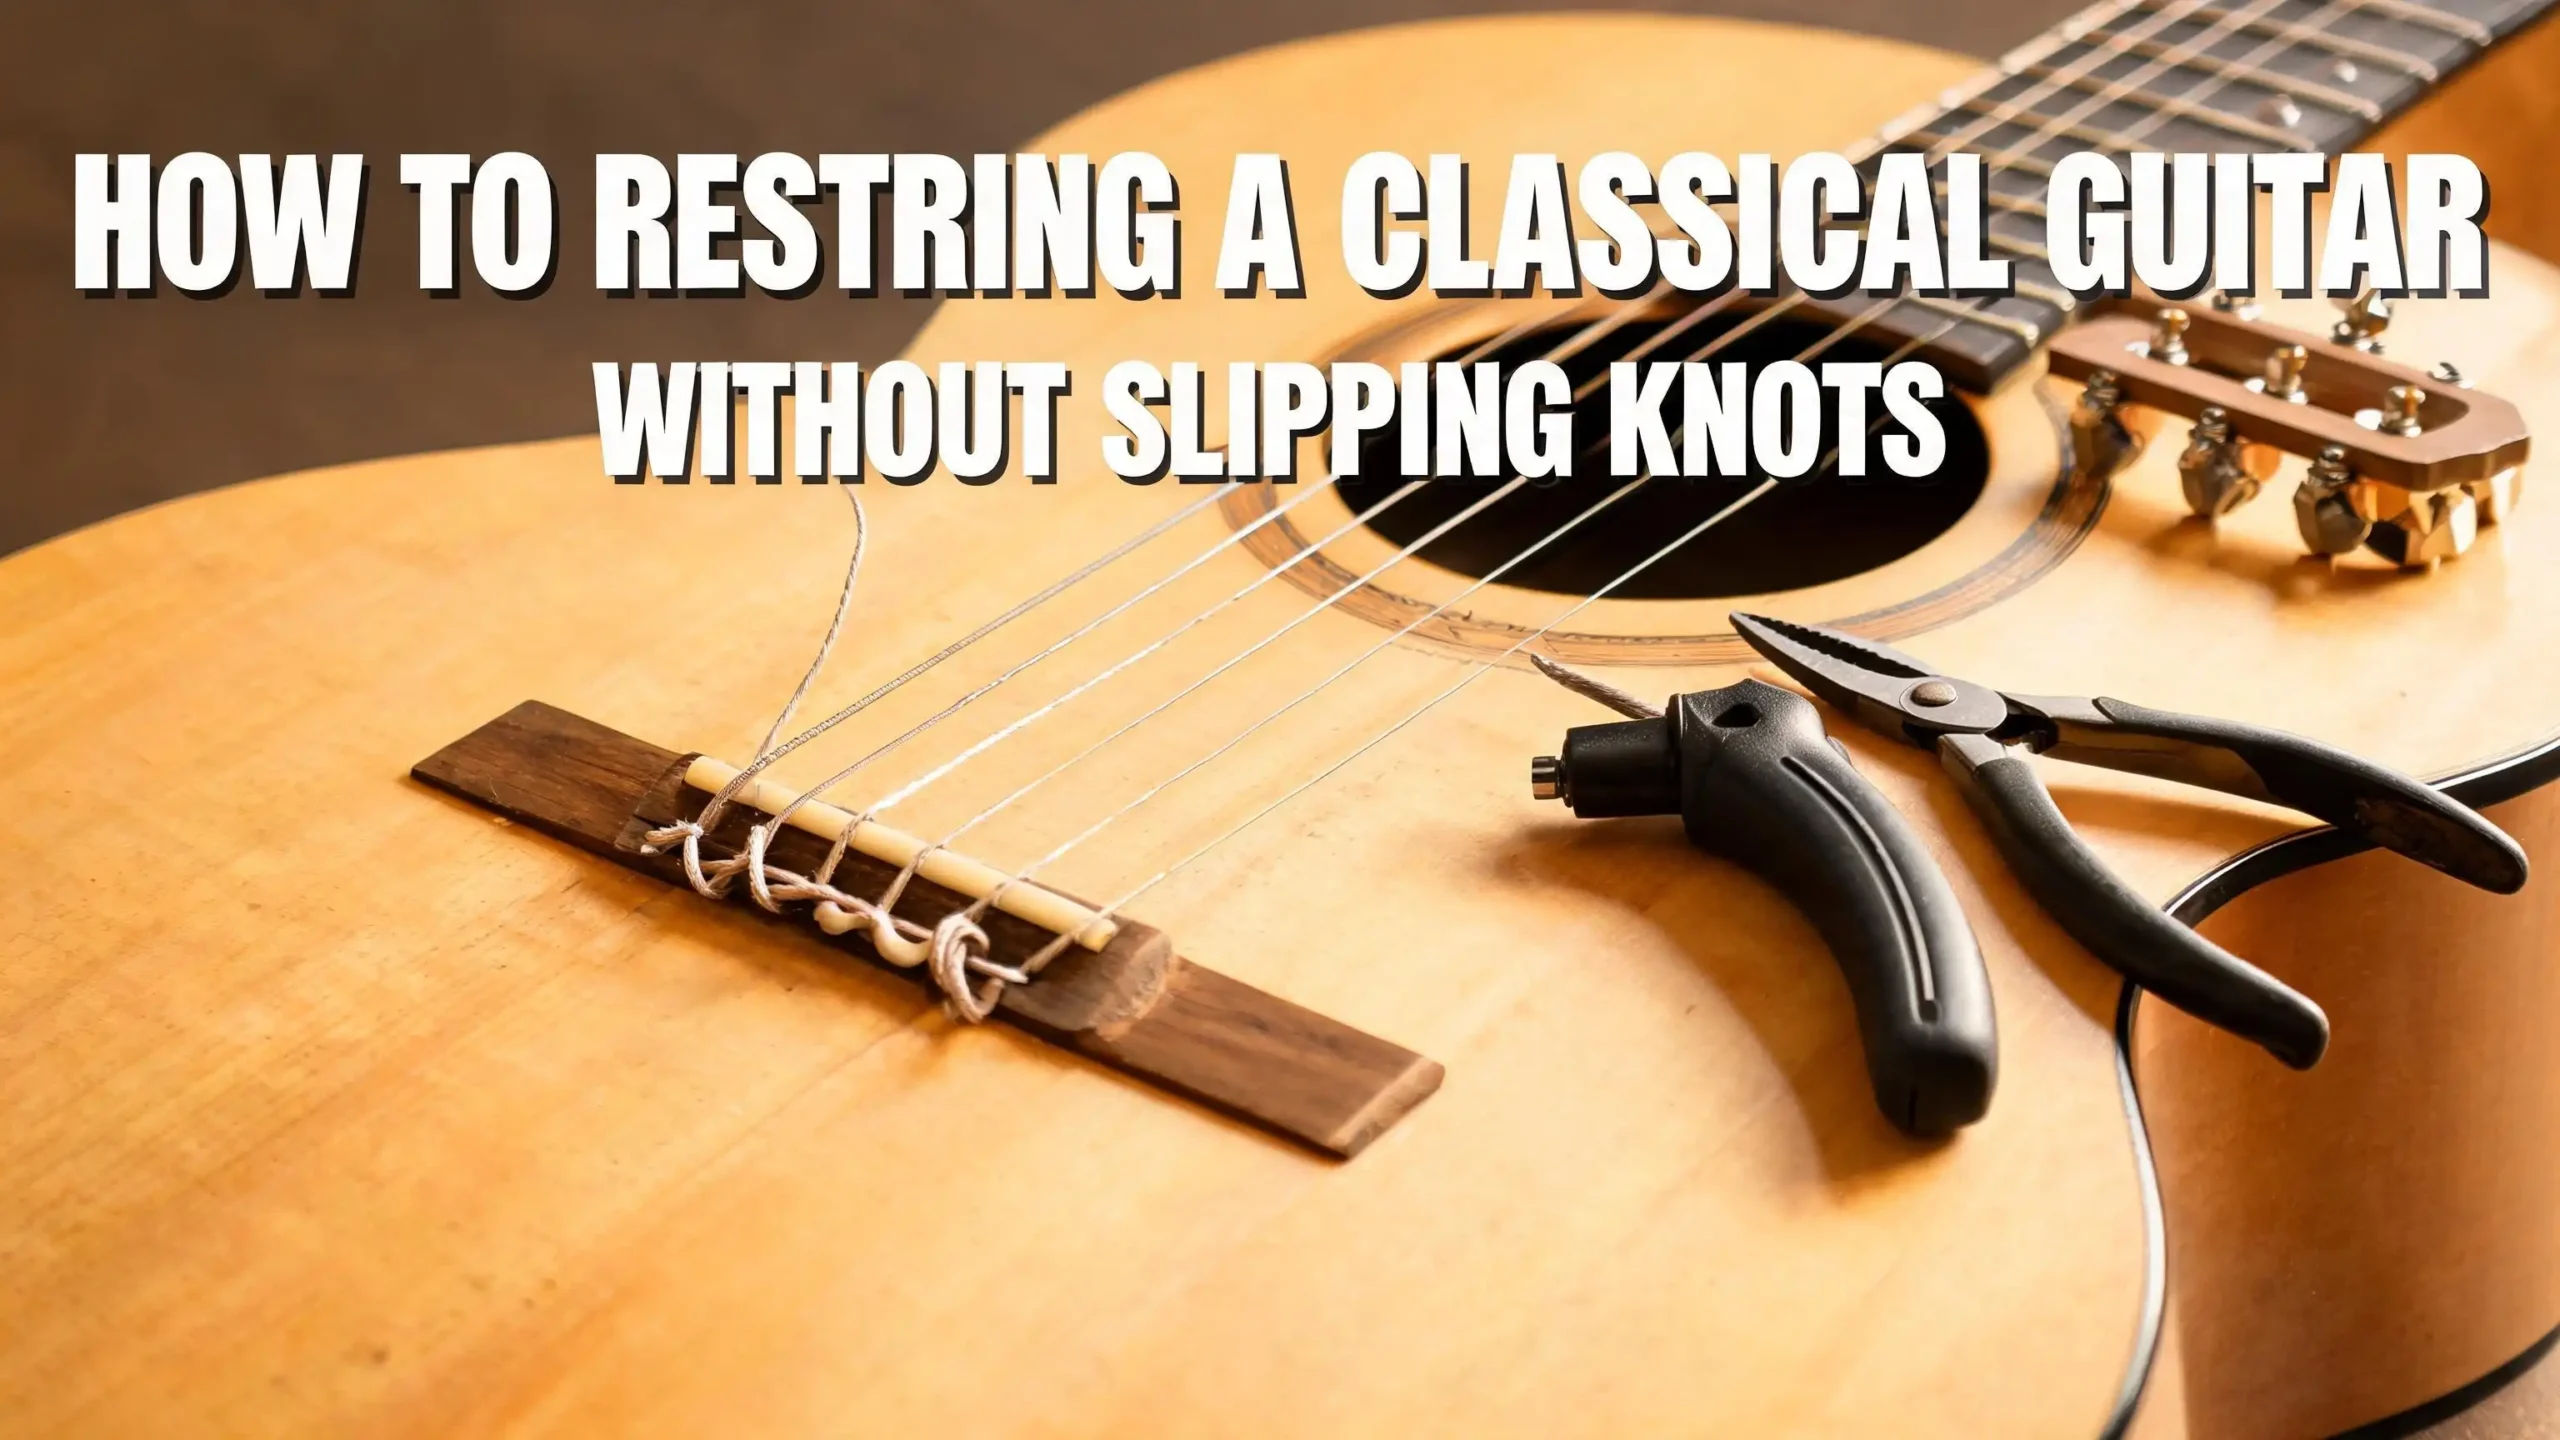
How to Restring a Classical Guitar Without Slipping Knots?
If you have ever tuned your classical guitar only to watch it slip flat minutes later, or worse, if a string has snapped off and left a whip mark across your guitar’s soundboard, you already know the frustration. Slipping knots are the number one problem beginners and even intermediate players face when restringing a classical guitar.
Unlike steel-string guitars, classical guitars use nylon strings that require a specific tying method at the bridge and tuning posts. There are no bridge pins, no ball ends, and no shortcut. You have to tie proper knots, and those knots have to hold.
This guide breaks down everything, from the tools you need to the exact knot techniques for both treble and bass strings, so you can restring your guitar with full confidence that nothing will slip, pop, or cause damage to your instrument.
Key Takeaways
- Nylon strings are slippery by nature, and they require at least two loops through the knot at the bridge for bass strings and three loops for treble strings to prevent slipping. Skipping extra loops is the most common reason knots fail.
- The position of the knot terminus matters critically. The tail of the string at the bridge must sit behind the tie block, not on top of it. When the tail sits on top, the knot is far more likely to slip under string tension, and a slipping string can leave a permanent whip mark on your guitar’s soundboard.
- The correct string end must go to the bridge. Bass strings have a tightly wound end and a loosely wound end. Always feed the tightly wound end through the tie block. Treble strings sometimes have a colored end, and the clear, non-colored end should go to the bridge.
- At the tuning posts, the “staple method” is the most secure technique. You pass the string through the post hole, then loop the free end over the string and back through the hole again before winding. This locks the string at the post so it does not slip during the winding process.
- New nylon strings will always go out of tune for a few days regardless of how well you tie them. This is because nylon stretches as it settles. Stretching the strings manually after installation dramatically speeds up the settling process.
- Change one string at a time. This keeps even tension on the guitar neck throughout the process and allows you to tune each string relative to the others without needing extra equipment.
Why Classical Guitar Strings Slip in the First Place?
Understanding why strings slip is the first step to stopping it from happening. Nylon is a smooth, flexible material with very little natural grip. When you tie a knot using nylon and then apply tension, the string has a tendency to pull through any loose loop before the knot tightens fully against itself.
The two places where slipping most commonly happens are the bridge tie block and the tuning machine posts. At the bridge, a poorly formed knot or a knot with too few loops allows the string to creep through the hole as the guitar comes up to pitch. At the tuning posts, a string that is simply threaded and wound without any locking mechanism can unravel as tension increases.
There is also a directional issue at the bridge. Many players feed the string through the tie block from the wrong direction. The string must always go from the soundhole side of the bridge toward the base of the guitar body. Feeding it the other way causes the wound portion of bass strings to act like sandpaper inside the hole, gradually wearing the tie block out, and it also makes the knot seat incorrectly.
A third reason for slipping is insufficient tail length at the bridge. Leaving only half an inch of tail after tying the knot gives the knot almost nothing to hold onto. Leaving at least one to two inches of tail, with the tail pointing behind the tie block, gives the knot proper bite.
Tools You Need Before You Start
You do not need an elaborate set of tools to restring a classical guitar, but having the right basic items makes the job easier and protects your instrument. Knowing what to gather before you start saves time and frustration.
Wire cutters or string nippers are essential for trimming the leftover tail ends after the strings are tied. Do not skip this step because a long string tail at the bridge can rest against the soundboard and create a buzzing sound that is hard to locate.
A string winder speeds up the tuning process at the tuning posts significantly. Choose a winder with a head sized for classical guitar tuning pegs. Many standard guitar winders have heads that are too large and can knock against neighboring pegs or scratch them.
A soft cloth or towel to lay the guitar on protects the finish while you work. Lay the guitar face down on the towel when you need to work on the bridge, and lay it face up when working on the tuning posts. Some players also place a strip of card stock or thin cardboard behind the bridge on the soundboard to protect against scratches from string ends during the tying process.
A chromatic tuner helps you bring each string up to pitch correctly. New nylon strings stretch significantly during the first few days, so you will need to tune frequently, and a reliable tuner saves your ears from guesswork.
Finally, the correct replacement strings are essential. Always keep a record of which string gauges and tension levels suit your guitar. Mixing tension levels within a set is possible but should be intentional.
How to Identify the Correct String End for the Bridge?
Before you tie any knot, you need to make sure you are using the correct end of the string at the bridge. This sounds simple, but it is a mistake many players make without realizing it, and it leads to poor intonation or early string failure.
Bass strings, which are strings four through six, have a visible difference between their two ends. On many brands, one end has tight, even windings all the way to the tip. The other end may have one to two inches of loose or sparse winding. The tightly wound end is the one that should go into the tie block at the bridge. Placing the loosely wound end at the bridge risks having the loose winding extend over the saddle into the vibrating length of the string, which causes the string to sound erratic and out of tune.
For treble strings, which are strings one through three, some manufacturers apply a small amount of color to one end. This colored end is an identification marker and should be tied at the tuning post end, not the bridge. Tie the clear, uncolored end at the bridge. If no color is present, either end can technically go to the bridge.
Getting the string orientation right before you begin saves you from having to undo a finished knot, which can crimp and weaken the string.
How to Tie the Bridge Knot for Bass Strings?
Bass strings are wound with metal over a nylon core, and they generally have more grip than plain nylon treble strings. Even so, the knot must be tied correctly to hold under performance tension.
Start by feeding the tightly wound tip of the string through the tie block hole from the soundhole side of the bridge toward the base of the guitar body. Pull through enough length to work comfortably, typically four to eight inches depending on your hand size.
Step 1: Hold the long length of string with your left hand. With your right hand, bring the short tip toward you and pass it under the long length.
Step 2: Grab the tip with your left hand. You now have a loop sitting over the long length of the string.
Step 3: Hold the loop just below the bridge with your right hand and point the tip toward the base of the guitar.
Step 4: Pass the tip through the loop.
Step 5: Bring the tip over the string and through the loop again. For bass strings, passing through the loop twice is the minimum. Going through once is not enough security, especially as the string reaches full pitch tension.
Step 6: This is the most important step for preventing slipping. Grab the tip with your thumb and index finger and press it down firmly onto the guitar soundboard behind the tie block. The tail must end up behind the block, not on top of it. Holding the tail in this position, pull the long length of the string with your other hand to tighten the knot fully. When the knot is almost tight, tug the string firmly with both hands to set it in place.
A tail pointing upward or sitting on top of the tie block is one of the leading causes of knot slippage. Keeping it pressed behind the block locks the knot mechanically.
How to Tie the Bridge Knot for Treble Strings?
The process for treble strings is almost identical to the bass string method, but treble strings are made of plain, uncoated nylon or carbon fiber, making them significantly more slippery. This requires an extra loop through the knot to hold securely.
Feed the clear, non-colored tip through the tie block hole from the soundhole side toward the guitar body. Pull through four to eight inches of string to give yourself room to work.
Follow the same steps as for the bass string, but when you reach the looping stage, pass the tip through the loop three times for the first and second strings. For the third string, which is slightly thicker, two passes are often sufficient, but three passes is always the safer choice.
For carbon or fluorocarbon strings specifically, always use three passes. These strings are denser and thinner than standard nylon, and they are especially prone to slipping if the knot does not have enough gripping surface.
After completing the loops, press the tail behind the tie block exactly as you would with a bass string, and pull the long length firmly to set the knot. Make sure the loop that sits in front of the saddle is not cutting into the main length of the string. You can push it gently downward with a finger as you tighten to confirm it is positioned correctly.
Once the knot is set, leave a tail of approximately one to two inches. Do not trim it yet. Trim all tails only after all strings are on and the guitar is tuned.
The Double Loop Knot for Extra Security on Treble Strings
For players who want absolute certainty that the first and second strings will never slip, there is an advanced technique called the double loop knot. This method is especially useful for very thin plain nylon strings or fluorocarbon strings that have almost no surface grip.
Step 1: Feed the string through the tie block hole from the soundhole side toward the body, leaving eight to twelve inches of string to work with.
Step 2: Bring the tip under the long length of string to form an initial loop.
Step 3: Pass the tip back through the tie block hole again from the outside, pulling through about six inches. This creates a circle of string floating above the tie block.
Step 4: Pass the tip on the far side of the string and under the long length.
Step 5: Hold the double loop between your thumb and index finger behind the bridge, and pass the tip through the double loop twice.
Step 6: Press the tail firmly onto the soundboard behind the tie block and pull the long length to set the knot tight.
The double loop creates a locking mechanism that is nearly impossible to pull out under normal string tension. It is more complex to tie at first, but after a few practice runs, it becomes second nature.
How to Attach the String at the Tuning Posts
Slipping at the tuning post is equally disruptive because it causes the string to go flat mid-performance. The standard method of simply threading the string through the post hole and winding does not lock the string in place, and the early winds can slip before enough wrap is built up.
The most reliable method is called the staple method, and it is straightforward once you practice it twice.
Step 1: Turn the tuning roller so its hole is aligned vertically, facing upward.
Step 2: Drape the string over the tuning post and insert the free end into the hole from the bottom, pulling it through until the string is taut against the nut slot.
Step 3: Pull almost all the slack through the hole. Leave only about two to three inches of extra length in the vibrating section of the string so that you end up with four to five wraps around the post when you finish winding. This keeps the headstock clean and minimizes the effect of temperature changes on tuning stability.
Step 4: Loop the free end over the long length of the string at the top of the post, then push it back through the hole in the opposite direction. This creates a small locking loop that “staples” the string to the post.
Step 5: Hold the string under light tension and wind it using the tuning key. Wind so that successive wraps sit neatly side by side on the post. Wraps that pile on top of each other can eventually jam the tuning machine.
For the thickest bass string, the wound diameter may be too large to pass through the hole a second time for the staple method. In that case, simply thread it once and wind. The wound texture of the string provides enough grip on its own.
The Correct String Winding Direction at the Headstock
The direction you wind the string around the tuning post affects tuning stability. Winding the string in the wrong direction creates an unnecessary angle where the string crosses over the nut, which adds friction and causes tuning drift.
The general rule is to wind so that the string angle from the nut to the post is as shallow as possible. For most classical guitars, this means winding the treble side strings outward and the bass side strings outward as well. Observing the existing string configuration on your guitar before removing strings is a helpful reference.
If the string contacts or rubs against the edge of the headstock wood on its path to the post, consider winding in the other direction if possible. Contact between the string and headstock wood adds friction, which causes tuning instability. Avoiding this contact whenever possible is a good habit.
Keep the coils neat and tight during winding. Loose coils that are wound at uneven tension will shift when the string is tuned, causing the pitch to drop. Wind steadily and maintain finger tension on the string as you turn the tuning key.
Which String Order to Replace and Why It Matters
The order in which you replace strings has practical benefits. Maintaining balanced tension across the guitar neck during the process reduces unnecessary stress on the instrument.
One reliable approach is to start with the first string, the high E, and then alternate between treble and bass strings. Replace string one, then string six, then string two, then string five, then string three, and finally string four. This alternating pattern keeps the tension distributed evenly across both sides of the neck throughout the process.
Starting with the first string is smart for another reason. It is the string that takes the longest to stretch and settle to pitch. By putting it on first and giving it some turns every time you pause to replace another string, it will be close to its final pitch by the time you finish all six strings.
Never remove all six strings at once. While this does not cause permanent damage to the neck on most modern guitars, it eliminates your tuning reference entirely and makes the process harder to manage, especially for beginners. Change one string at a time for best results.
How to Stretch New Strings and Speed Up Tuning Stability?
New nylon strings can take several days to settle. This is completely normal and has nothing to do with the quality of your knots. Nylon is an elastic material, and it continues to stretch under tension for a period after installation.
You can significantly speed this process by stretching the strings manually after installation. Bring the guitar to pitch first, then use your fingers to gently pull each string away from the fretboard along its length. Start near the nut and work your way down to the body. Apply firm but gentle upward pressure, not a sharp pull.
After stretching each string, retune and repeat. Doing this three to five times per string in the first sitting will cut the settling time from several days down to a few hours in most cases.
You can also gently pull on the string at the bridge knot and at the tuning post to take up any remaining slack in those areas. This helps the knot seat itself fully and removes any looseness in the post windings. Do not use excessive force. The goal is to let the string settle at pitch, not to snap it.
Trimming the String Tails Correctly
Once all six strings are on and the guitar is tuned, it is time to trim the tails. This step seems minor, but trimming incorrectly can cause buzzing noises or even scratch the soundboard.
At the bridge, trim each tail so that approximately half an inch to one inch remains behind the tie block. Do not cut flush with the knot. A small amount of remaining tail adds security to the knot and prevents it from pulling through under tension. Use clean wire cutters or string nippers to make a neat cut.
At the tuning posts, trim the excess free end that sticks out from the post hole, leaving a small stub of about a quarter inch. Do not leave long string ends sticking out from the tuning posts because they can catch on your hand during playing and are a hazard to the guitar finish.
Check the bridge tails carefully. If any tail is long enough to rest against the guitar soundboard or reach the body, it will create a vibration buzz. Trim it to a safe length immediately.
After trimming, give the guitar one final stretch and tune. Your strings are now properly installed and ready to play.
Common Mistakes That Cause Knots to Fail
Even players who follow most of the process correctly sometimes make small errors that lead to slipping knots. Knowing these mistakes in advance helps you avoid them.
Using only one loop for treble strings is the most common error. One loop is never enough for plain nylon or carbon strings. Always use at least two loops for bass strings and three loops for treble strings.
Allowing the knot terminus to sit on top of the tie block is the second most frequent mistake. The tail must be pressed and held behind the block while the knot is tightened. If the tail is on top, the knot grips very little of the string and will pull through as the guitar reaches full pitch.
Not checking the string direction at the bridge is a mistake that leads to poor intonation on bass strings. Always feed the tightly wound end through the tie block from the soundhole side toward the body.
Pulling the knot too tight aggressively is another issue. A sharp kink in the string where it exits the tie block hole puts stress on the nylon fibers, leading to early string breakage at that point. Tighten the knot firmly but not with extreme force. Let tension from tuning up do the final seating.
Interlacing the string tails into neighboring string loops to make the bridge look neat is a mistake that is hard to undo. If one string breaks or needs replacement before the full set, you cannot untie its knot without cutting it, which risks nicking the tie block.
How Often Should You Restring Your Classical Guitar
Knowing when to restring is just as important as knowing how to restring. Nylon strings degrade over time even if they do not break, and older strings lose tone and tuning stability progressively.
Most active classical guitar players change their strings every four to six weeks. Students who practice one to two hours daily should aim for that range. Players who perform regularly often change strings one to two weeks before a concert and then again shortly after.
Signs that your strings need changing include: dull, lifeless tone, difficulty staying in tune even after the initial settling period, visible wear on the wound strings where the fingers press on the frets, and discoloration or corrosion on the bass strings.
Bass strings tend to go dead faster than treble strings because finger oils and sweat penetrate the windings and dull the metal overtones. Some players change only the bass strings every two weeks and replace the full set once a month.
Washing your hands before playing extends string life noticeably. It reduces the oil and sweat that accelerate corrosion on the wound strings and slow the buildup of grime on treble strings.
FAQs
Why do my classical guitar strings keep slipping at the bridge?
The most common cause is insufficient loops in the bridge knot. Bass strings need at least two loops through the knot, and treble strings need three. A second common cause is the knot terminus sitting on top of the tie block rather than being pressed behind it. When the tail is on top, the knot has almost nothing to grip and pulls through under string tension.
Can I restring a classical guitar the same way I restring a steel-string guitar?
No. Classical guitars do not use bridge pins or ball-end strings. The strings must be tied directly to the tie block at the bridge using specific knot methods. The tuning post attachment is also different and requires a locking technique to prevent the string from slipping during winding.
How long does it take for new nylon strings to stop going flat?
New nylon strings typically take two to four days to fully settle at pitch. However, stretching each string manually by pulling it gently away from the fretboard immediately after installation reduces this settling time dramatically, often down to a few hours or a single playing session.
Is it okay to remove all the strings from a classical guitar at once?
It is generally not recommended. Removing all strings at once eliminates your tuning reference and can briefly change the tension balance on the guitar neck. Change one string at a time to keep the neck tension consistent and to always have a reference string for tuning.
What is the difference between tying treble and bass strings at the bridge?
The main difference is the number of loops in the knot. Bass strings, which are wound nylon, have more surface grip and require two loops through the knot. Treble strings, which are plain nylon or carbon, are more slippery and require three loops for the first and second strings. A double loop knot through the tie block hole can also be used for added security on very slippery treble strings.
How do I know if I have fed the bass string through the bridge in the correct direction?
The string should always go from the soundhole side of the bridge toward the base of the guitar body. If you feed it in the opposite direction, the wound metal texture of the string acts like an abrasive against the walls of the tie block hole over time, wearing it out. Feeding it correctly also allows the knot to seat properly under tension.
Why does my string keep snapping near the bridge knot?
A common cause is over-tightening the knot, which creates a sharp kink in the string where it exits the tie block hole. This kink puts uneven stress on the nylon fibers and weakens the string at that point. Tighten the knot firmly but without forcing it. Also, make sure the loop at the tie block is not cutting across the main vibrating length of the string, as this can create a pressure point that eventually breaks the string.

Hi, I’m Tessa! As a lifelong music lover and gear enthusiast, I started this blog to help fellow musicians navigate the overwhelming world of instruments and equipment. I spend my time researching, comparing, and reviewing musical gear so you can spend yours doing what matters most — making music.