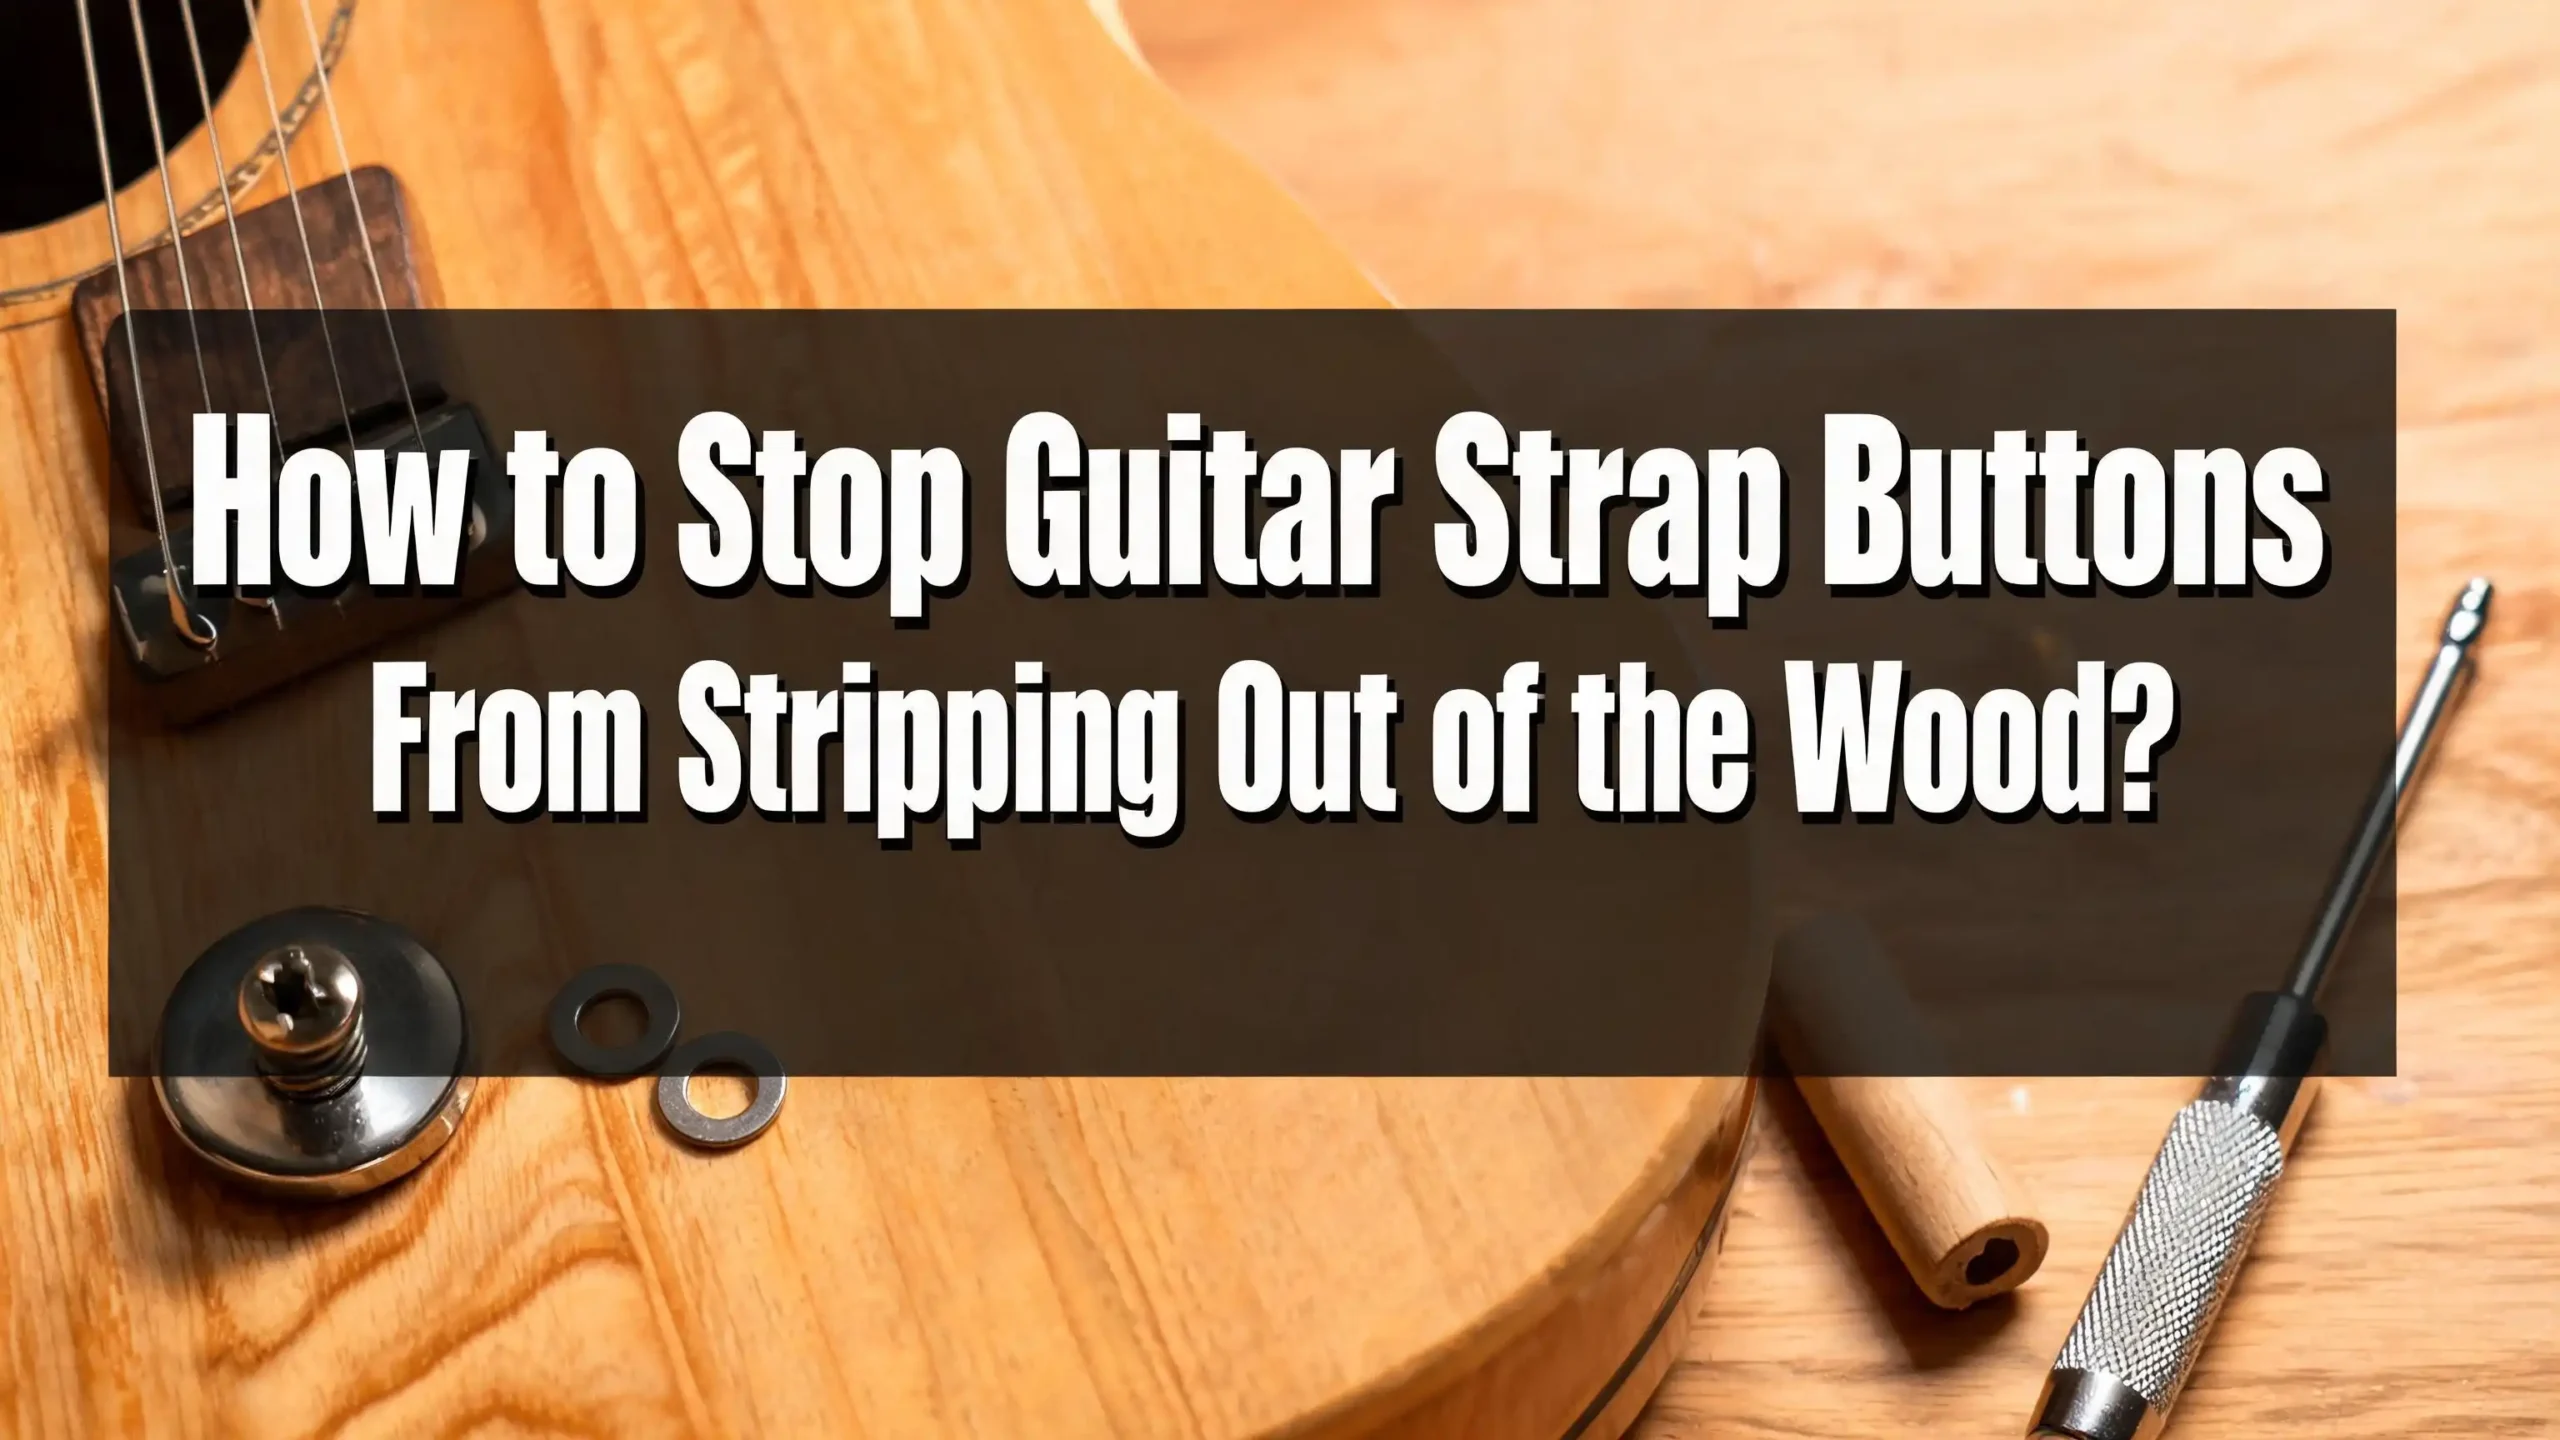
How to Stop Guitar Strap Buttons From Stripping Out of the Wood?
Has your guitar strap button ever pulled right out of the wood mid performance? That sinking feeling when your instrument suddenly drops toward the floor is something no player wants to experience twice.
The good news is this problem has several reliable fixes. Some take five minutes with items you already have at home. Others require a bit more patience but deliver a permanent solution.
In this guide, I will walk you through every proven method to repair a stripped strap button hole. You will also learn how to prevent the problem from happening again.
Key Takeaways
- The toothpick and wood glue method is the fastest fix. It works for mildly stripped holes and requires only basic household items. Most players can complete this repair in under ten minutes.
- The hardwood dowel method is the permanent solution. Drilling out the damaged hole and gluing in a fresh hardwood dowel creates a repair that lasts for decades. This is what professional luthiers use.
- Larger screws can serve as a quick upgrade. Moving from a standard #6 screw to a #8 screw often grabs enough fresh wood to solve the problem without any gluing or filling.
- Felt washers and rubber gaskets reduce movement. Adding a compressible washer between the button and the guitar body absorbs vibration and stops the screw from rocking side to side.
- Strap locks change the mechanics entirely. Installing a dedicated strap lock system removes the constant tugging and twisting that wears out standard button holes over time.
- Prevention beats repair every time. Checking your strap button screws every few months and tightening them before they get loose saves you from emergency fixes later.
What Causes Guitar Strap Buttons to Strip Out?
Constant Movement and Vibration
Every time you move while playing, your guitar strap tugs and twists on the strap button. Over months and years, this repeated motion acts like a tiny lever prying the screw sideways inside the wood. The soft body wood of many guitars cannot resist this force forever. Eventually the screw hole widens and the threads lose their grip.
Soft Body Woods
Many popular guitar body woods are relatively soft. Basswood, mahogany, alder, and spruce all compress under repeated stress. When a steel screw sits inside soft wood, the wood fibres gradually crush and compact. Each time the screw moves a fraction of a millimetre, more wood gets pulverised into dust. Soon the hole becomes too wide for the original screw to hold.
Oversized or Heavy Straps
Thick leather straps and wide padded straps add comfort but also add weight and leverage. A heavy strap bouncing on a strap button applies far more force than a lightweight nylon strap. The extra mass multiplies the twisting action on the screw hole. Players who use heavy straps should check their buttons more often.
Improper Installation from the Factory
Sometimes the problem starts before you even play the guitar. Factory workers may drill the pilot hole slightly too large. They may use a screw that is too short for the job. On some budget instruments, the strap button screw barely bites into the wood. When the screw has only a few millimetres of engagement, failure is almost guaranteed.
Temperature and Humidity Changes
Wood expands and contracts with seasonal humidity changes. A screw hole that feels tight in summer may loosen in winter when dry indoor heat shrinks the wood. Repeated expansion and contraction cycles gradually widen the hole. Guitars stored in attics, basements, or cars experience the worst of these swings.
Toothpick and Wood Glue Method (The Quick Fix)
This is the most popular home repair for a stripped strap button hole. It works because toothpicks add fresh wood material inside the worn hole. The glue bonds the toothpick fibres to the surrounding wood. The screw then bites into this new composite material.
Remove the strap button screw completely. Grab two or three wooden toothpicks. Coat each toothpick lightly with wood glue. Insert the toothpicks into the stripped hole. Push them in firmly. Snap off the excess toothpick flush with the surface. Screw the strap button back in while the glue is still wet. The screw will compress the toothpicks against the hole walls. Wipe away any glue squeeze out with a damp cloth. Let the glue dry for 24 hours before putting weight on the strap.
Pros: Takes less than ten minutes. Costs almost nothing. Requires no special tools. Works reliably for mild to moderate stripping.
Cons: Not a permanent fix for severely damaged holes. The repair may fail again after a year of heavy use. Toothpick wood is soft and can compress over time.
Using a Larger Screw
Sometimes the simplest fix is to upgrade the screw itself. Most strap button screws are #6 size wood screws about 1 to 1.25 inches long. If the hole has widened slightly, a #8 screw of the same length can bite into fresh wood around the edges of the old hole.
Remove the old screw and check if the strap button hole in the metal button can accept a larger screw. Many buttons have enough clearance for a #8 screw. If the button hole is too small, you can gently enlarge it with a drill bit. Install the larger screw carefully. Do not force it. If you feel excessive resistance, stop and drill a slightly larger pilot hole first.
Pros: No glue, no filling, and no waiting for anything to dry. The repair is instant. Often provides a stronger connection than the original.
Cons: The strap button itself may not accept a larger screw. You may need to buy a new button with a larger hole. This method only works once. If the hole strips again, you must use a filling method.
Hardwood Dowel Method (The Professional Fix)
This is the repair that luthiers use. It involves drilling out the entire damaged hole, gluing in a solid hardwood dowel, and then drilling a fresh pilot hole into brand new wood. The result is as strong as or stronger than the original factory installation.
Start by removing the strap button. Select a drill bit that is slightly larger than the current stripped hole. Common sizes are 1/4 inch or 3/8 inch. Drill straight into the old hole to clean out all the damaged wood fibres. Find a hardwood dowel that matches your drill bit size. Maple and birch dowels work well. Coat the dowel with wood glue and tap it into the drilled hole. Let the glue cure for a full 24 hours. Trim the dowel flush with a sharp chisel or sandpaper. Drill a new pilot hole into the centre of the dowel. Use a bit slightly smaller than your screw shaft. Screw the strap button back in.
Pros: Creates a permanent repair that will likely outlast the guitar. The screw bites into solid, fresh hardwood. Works even for holes that have been badly wallowed out.
Cons: Requires a drill, sharp drill bits, and basic woodworking skill. Takes more time due to glue curing. The dowel end grain may be visible under the button, though the button usually hides it completely.
Matchstick Trick (Emergency Field Repair)
When you are at a gig or rehearsal and your strap button pulls out, you need a fix right now. The matchstick trick can save the show. Remove the paper match head from a wooden matchstick. Snap the matchstick in half. Push both halves into the stripped hole. Screw the button back in. The matchsticks compress and fill the gap enough to hold the guitar for the rest of your set.
This is purely a temporary fix. Matchstick wood is very soft and compresses quickly. The repair will loosen again within hours or days. Treat it as an emergency bandage and apply a proper fix as soon as you get home. Do not use matches with the heads still attached. The chemical coating on match heads can damage wood and finish.
Pros: Takes thirty seconds. Works with items found at any bar or venue. Can literally save a performance.
Cons: Extremely temporary. Soft matchstick wood provides poor long term grip. Not a serious repair method.
Wood Filler and Epoxy Solutions
For holes that are badly damaged but do not justify a full dowel job, two part epoxy or high quality wood filler can work. Remove the button and clean out any loose debris from the hole. Mix a small batch of two part epoxy or solvent based wood filler. Press the filler deep into the hole using a toothpick. Overfill slightly. Let it cure completely according to the product instructions. Drill a new pilot hole into the hardened filler. Install the screw.
Use epoxy sparingly. Too much epoxy can run inside the guitar body and create a mess. The best approach is to apply the epoxy with a toothpick, not squeeze it directly from the tube. Keep a damp rag nearby for cleanup.
Pros: Fills irregularly shaped holes that a dowel cannot fix. Creates a rock hard anchor point for the screw. Works when wood fibres around the hole are damaged.
Cons: Epoxy is messy and can drip inside the guitar. Curing times can be long. Drilling into hardened epoxy dulls drill bits. If the repair fails later, removing epoxy from the hole is difficult.
Installing a Threaded Metal Insert
This is an advanced fix that converts the wood screw hole into a machine screw thread. A threaded brass insert gets screwed or pressed into a slightly enlarged hole in the wood. The strap button then attaches with a machine screw that threads into the metal insert.
Drill the stripped hole to the diameter specified by the insert manufacturer. Thread the brass insert into the hole using an Allen key. Some inserts have external cutting threads that bite into the wood. Secure the insert with a drop of thin CA glue if desired. Attach the strap button using the matching machine screw.
Pros: Creates a metal on metal connection that will never strip out of wood again. Allows repeated removal and reinstallation without wear. Very clean and professional result.
Cons: Requires precise drilling. The insert must match your strap button hardware. Over tightening the machine screw can crack the wood around the insert. Not reversible without a larger repair.
Felt Washers and Rubber Gaskets for Prevention
A simple felt or rubber washer placed between the strap button and the guitar body does more than protect the finish. It creates a slight cushion that absorbs vibration and reduces the rocking motion that strips screw holes. The washer compresses when you tighten the screw, keeping constant gentle tension on the threads.
Felt washers come standard on many Fender guitars for good reason. They prevent the metal button from digging into the finish. They also stop the button from rattling when the screw is fully tightened. Rubber gaskets provide even more grip and cushioning. Buy a pack of felt washers or small rubber O rings at any hardware store. Place one under each strap button. Check them every few months and replace any that have flattened or torn.
Pros: Costs pennies per washer. Takes seconds to install. Reduces both finish damage and screw loosening. No modification to the guitar.
Cons: Washers compress over time and need occasional replacement. They do not fix an already stripped hole. Rubber washers can react with nitrocellulose finishes, though this is rare.
When to Use CA Glue (Super Glue) and When to Avoid It
Cyanoacrylate glue, commonly called super glue or CA glue, has specific uses in strap button repair. It wicks into wood fibres and hardens them. This can rescue a hole that is just starting to loosen. Remove the screw. Apply one or two drops of thin CA glue into the hole. Let it soak in and harden for five minutes. The hardened wood fibres now grip the screw better.
However, many guitar forums warn players not to glue the screw itself into the hole. If you put glue on the screw threads and then install it, the screw becomes permanently bonded inside the wood. Future removal may rip out chunks of the guitar body. Never glue the actual screw in place. Only apply CA glue to the hole walls and let it dry before reinstalling the screw.
Pros: Thin CA glue reinforces soft wood fibres quickly. The repair takes only minutes. Works for holes that are barely loose.
Cons: Permanent damage risk if glue contacts the screw threads. CA glue fumes can haze nearby finishes. Over application can drip inside the guitar body.
Strap Locks as a Long Term Prevention Strategy
Strap locks do more than keep your strap from falling off. They also change the mechanical forces on the screw hole. A standard strap button suffers constant twisting and prying as the strap moves. A strap lock system uses a ball bearing or clip mechanism that allows the strap to rotate freely while the button remains stationary. This dramatically reduces the force transferred to the screw.
Installing strap locks replaces your existing strap buttons with the lock hardware. The new screws bite into fresh or repaired wood. Once installed, the strap attaches and detaches with a click. The guitar hangs securely without the constant wiggling that strips holes. Many professional touring musicians use strap locks on every guitar for this exact reason.
Pros: Eliminates the primary cause of stripped holes which is strap movement tugging on the screw. Keeps the guitar far more secure during performance. Allows quick strap removal for case storage.
Cons: More expensive than a simple button repair. Some strap lock designs add noticeable weight. Requires installation with tools. Cheaper copies of popular strap lock designs can fail.
Step by Step: Diagnosing the Severity of the Damage
Before you choose a repair method, you need to assess how bad the damage really is. Remove the strap button screw and look at the hole. A hole that is slightly oval but still grips the screw when tightened needs only a toothpick fix. A hole where the screw spins freely without catching any wood needs a dowel repair. A hole with visible cracks radiating outward needs immediate attention and possibly professional help.
Test the screw by inserting it and gently trying to wiggle it side to side. If it moves less than a millimetre, the damage is mild. If it moves noticeably or sinks deeper than it should, the hole is moderately stripped. If the screw falls out when you tip the guitar upside down, the hole is severely stripped. Match your repair method to the severity level. Using a toothpick on a severely stripped hole wastes your time. Doing a full dowel job on a barely loose hole is overkill.
Tools and Materials You Will Need
For basic repairs, gather wooden toothpicks, a bottle of quality wood glue like Titebond Original, a sharp utility knife, and a damp cleaning cloth. For intermediate repairs, add a drill with sharp brad point bits, hardwood dowel rods in common sizes, a flush cut saw or sharp chisel, and sandpaper in 220 and 400 grit. For advanced repairs, include two part epoxy, threaded brass inserts, a digital calliper for measuring, and a centre punch for marking pilot holes.
Keep a small repair kit in your guitar case. Include a few toothpicks, a tiny tube of wood glue, a Phillips head screwdriver that fits your strap button screws, and a couple of spare felt washers. This kit can save you at a gig when a button starts feeling loose between sets.
Common Mistakes That Make the Problem Worse
Many players reach for the screwdriver and simply crank the loose screw tighter. This often strips the remaining wood fibres and makes the hole worse. A screw that already feels loose has lost its grip. Tightening it further only crushes what little wood remains.
Another common mistake is using screws that are too long. A screw that protrudes past the guitar body wall can puncture internal wiring or even poke through the other side of a thin bodied guitar. Always measure screw depth against body thickness before installing a longer screw.
Some players fill the hole with random materials like plastic wall anchors or cotton balls. These materials do not bond with wood and compress unevenly. Stick with wooden materials that accept glue and behave similarly to the original wood.
Special Considerations for Acoustic Guitars
Acoustic guitars present unique challenges for strap button repair. The body walls are often thinner than solid body electrics. The end pin area on many acoustics doubles as the output jack housing, which complicates repairs. A stripped hole near the heel of the neck goes into the neck block, which is thick mahogany or maple and usually repairable with a dowel. A stripped hole on the upper bout side may only have a few millimetres of wood thickness before breaking into the hollow body cavity.
For thin upper bout installations, always use the shortest screw that still gets a solid bite. Consider using a small wooden reinforcement block glued inside the body at the strap button location. This is an invasive repair best left to a luthier. For end pin jack issues on acoustic electric guitars, the repair usually involves tightening a nut inside the body, not fixing stripped wood.
Special Considerations for Bass Guitars
Bass guitars weigh more than electric guitars, sometimes significantly more. A heavy bass puts far greater stress on strap button screws. The neck dive common on many bass designs adds constant forward leverage that works the upper horn strap button loose faster than on a balanced electric guitar.
Bass players should consider oversized strap buttons paired with strap locks as a mandatory upgrade. The larger diameter button spreads the load across more of the screw. Many basses benefit from using two screws per button where the design allows. Check bass strap buttons every month. The consequences of a bass hitting the floor are severe given the weight involved.
When to Take Your Guitar to a Professional
Some repairs exceed what you should attempt at home. If the wood around the strap button hole has split or cracked, a luthier can properly repair the crack before addressing the hole. If the guitar is a valuable vintage instrument, any irreversible modification affects its value. A professional can match the repair wood species and finish colour to keep the instrument original looking.
If you have tried a dowel repair and it failed because the surrounding wood is compromised, a luthier can rout out a larger area and graft in a new block of matching wood. This is major surgery but saves guitars that would otherwise be unplayable. The cost of this work typically runs between fifty and one hundred fifty dollars, far less than replacing a damaged instrument.
How to Maintain Strap Buttons for Life
Check your strap button screws every time you change strings. Give each screw a gentle quarter turn to confirm it is tight. Do not overtighten. Watch for any sign of the button lifting away from the body. This indicates the screw is beginning to pull out.
Keep your strap holes lubricated. A tiny bit of bar soap or candle wax on the strap holes where they contact the button reduces friction. Less friction means less pulling force transferred to the screw. Rotate between two straps if you play frequently. This lets leather straps rest and prevents one strap from wearing unevenly.
Store guitars in a stable environment with humidity between forty and fifty percent. Wood that stays dimensionally stable holds screws better year round. A simple room humidifier or guitar case humidifier makes a measurable difference in screw hole longevity.
FAQs
Can I use white school glue instead of wood glue for the toothpick fix?
White school glue, known as PVA glue, works but is not ideal. It remains slightly flexible when dry and can creep under constant load. Wood glue like Titebond dries harder and grips wood fibres more aggressively. If white glue is all you have, it works for a temporary fix. For a lasting repair, spend a few dollars on proper wood glue.
Will fixing a stripped strap button hole damage my guitar’s resale value?
A properly done dowel or toothpick repair hidden under the strap button does not affect resale value. Most buyers never remove strap buttons to inspect underneath. A messy repair with glue smeared on the finish or a cracked area around the hole will reduce value. Do clean work and the repair will be invisible.
How long does the toothpick and wood glue fix actually last?
On a guitar played weekly, a toothpick and wood glue repair typically lasts one to three years. On a guitar that hangs on the wall and rarely gets played, it can last indefinitely. The repair durability depends on how much the guitar moves during playing and how heavy the guitar is.
Should I use a strap lock on the top button, bottom button, or both?
Install strap locks on both strap buttons. The top button near the neck takes the most abuse because the neck wants to dive downward. The bottom button still experiences load and twisting. Doing both ensures consistent security. Mixed setups with one lock and one standard button still leave a weak point.
Can I drill a new strap button hole in a different location instead of repairing the old one?
You can, but you should repair the old hole first to seal the exposed wood. An open screw hole lets moisture into the body. The new location must have enough wood thickness to safely accept a screw. Avoid drilling into the neck heel joint area. Consult a guitar tech if you are unsure about safe placement.
What is the best strap button screw length for electric guitars?
For most solid body electric guitars, a screw length between 1 inch and 1.25 inches works well. The screw should penetrate at least three quarters of an inch into solid wood. Avoid screws longer than the guitar body thickness. Gibson style guitars with thinner bodies may need slightly shorter screws. Always measure before buying replacement screws.

Hi, I’m Tessa! As a lifelong music lover and gear enthusiast, I started this blog to help fellow musicians navigate the overwhelming world of instruments and equipment. I spend my time researching, comparing, and reviewing musical gear so you can spend yours doing what matters most — making music.