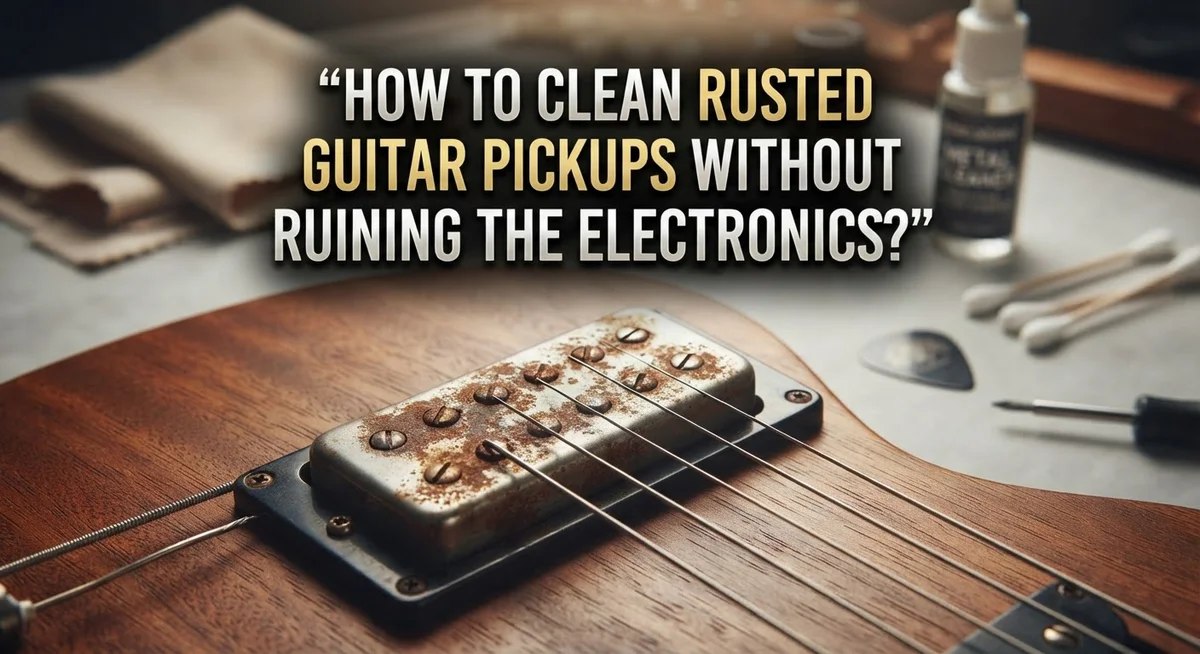
How to Clean Rusted Guitar Pickups Without Ruining the Electronics?
Rust on your guitar pickups can look scary. You open up your guitar case and see orange spots on the pole pieces or baseplate. Your first thought might be panic.
Here’s the good news. Rust is usually just a cosmetic problem. It doesn’t change how your pickups sound.
But cleaning rusted pickups comes with real risk. Moisture and liquid can damage the coils and wiring inside. One wrong move with a cleaning spray could kill your pickup for good.
This guide shows you how to clean rust safely. You’ll learn which methods work for screws and hardware. You’ll also learn what to avoid near your coils and electronics.
By the end, you’ll know exactly how to make your pickups look clean again. And you’ll do it without risking your guitar’s electronics. Let’s get started.
In a Nutshell
- Rust is cosmetic. It doesn’t change how your pickups sound. You don’t have to clean it unless you want a better look.
- Dry methods are safest. Use a soft brush or dry cloth on coils and wiring. This keeps moisture away from sensitive parts.
- Vinegar works for hardware. Screws, poles, and metal covers can soak in vinegar. This loosens rust without harming electronics.
- Never soak the coils. Liquid can seep into windings and damage your pickup. Keep all cleaning liquids far from the coil itself.
- Dry storage prevents future rust. A humid case or room invites rust back. Store your guitar somewhere dry and stable.
- Test small areas first. Before cleaning a big rusty spot, try your method on a tiny section. This protects your guitar from surprises.
Understanding Rust on Guitar Pickups: Causes and Cosmetic vs. Functional Impact
Rust forms on guitar pickups when moisture meets metal components over time. Your pickups sit exposed to humidity, sweat from your hands, and environmental moisture. This creates the perfect conditions for oxidation to occur on the metal parts.
The good news is that rust on pickups is almost always cosmetic. It doesn’t change how your pickups sound or function electrically. The rust sits on the surface of screws, pole pieces, and metal housings. Your tone remains exactly the same whether the pickup looks shiny or rusty.
However, rust indicates that moisture has been present. This same moisture poses a real danger to the delicate electronics inside your pickup. The coils, wires, and internal connections can suffer permanent damage if liquid seeps into them during cleaning.
This is why you need to understand the difference between what’s safe to clean and what you should leave alone. The metal hardware around your pickup responds well to careful cleaning. The electronic components inside require a completely different approach.
Your pickup’s pole pieces (the metal rods you see) can develop surface rust. The screws holding everything together often rust first. These parts can be addressed with proper techniques. But the copper wire coils wrapped tightly inside must stay completely dry.
Recognizing this distinction saves you from accidentally destroying your pickups while trying to improve their appearance. Many people make the mistake of treating the entire pickup the same way. They apply liquid cleaners everywhere and end up with shorted electronics.
The key is targeting only the exposed metal parts while protecting the sensitive internal wiring. You’ll learn exactly which cleaning methods work for each area. This protects both your pickup’s appearance and its functionality. Understanding this difference is your first step toward safe, effective cleaning.
Essential Precautions Before You Start Cleaning
Before you grab any cleaning supplies, stop and assess what you’re actually dealing with. Rust on pickups looks worse than it actually is. The metal pole pieces and screws develop surface rust, but this doesn’t change how your guitar sounds. Your main goal is keeping moisture away from the coils and wiring underneath.
First, unplug your guitar and let it sit in a dry room for at least 24 hours. This reduces any existing moisture in the electronics. Never rush into cleaning when your guitar is damp or humid outside.
Gather your supplies carefully. You’ll want soft, lint free cloths. Have paper towels ready too. Skip anything that’s liquid based unless you’re only using it on detached hardware like screws. Keep vinegar, water, and any cleaning solutions in separate containers away from your workspace.
Protect your pickups before you start. Cover the area around your pickups with painter’s tape or masking tape. This creates a barrier that catches any accidental drips or dust. Leave only the rusty parts exposed. This simple step prevents liquid from running onto sensitive electronics.
Check your pickup’s construction. Some pickups have exposed coils. Others have protective covers. Knowing which type you have changes your cleaning approach. If you’re unsure, take a photo and research your specific pickup model online.
Ground yourself before touching anything. Static electricity can damage electronics. Touch a metal part of your guitar’s body or wear a grounding strap. This takes just a few seconds but matters a lot.
Test your cleaning method on a small, hidden area first. This shows you how the rust responds without risking visible damage. Wait a few minutes and observe the results.
Never work in humid conditions. Clean on a dry day in a dry room. Humidity works against you and increases the risk of moisture getting into your electronics. These precautions seem like extra steps, but they’re what separate successful cleaning from costly mistakes.
Step-by-Step Guide to Safely Removing Rust from Pickup Hardware and Screws
Start by removing your guitar’s pickguard or access plate so you can reach the pickups easily. Work in a clean, dry space with good lighting. You want to see exactly what you’re cleaning.
Identify rust locations first. Look for rust on the visible metal pole pieces, the pickup mounting screws, and the external hardware. Rust that appears only on these outer surfaces is safe to address. Rust near the coil windings or internal wiring requires a different approach.
For pickup screws and external hardware, vinegar is your best option. Soak a cotton swab in white vinegar and apply it directly to the rusted screw or metal part. Let it sit for 5 to 10 minutes. The acid in vinegar dissolves light surface rust. Gently rub the area with a soft brush or old toothbrush. Wipe away the vinegar immediately with a dry cloth.
Never pour vinegar directly onto the pickup. Apply vinegar only to specific hardware pieces you’ve isolated. This prevents liquid from seeping into the coil windings.
For pole pieces with light rust, use a dry brass brush or fine steel wool. Rub gently in one direction. This removes surface rust without introducing moisture. Stop frequently and check your progress.
After cleaning any part with vinegar, dry it thoroughly with a clean cloth. Use a second dry cloth to catch any remaining moisture. Wait 30 minutes before reassembling anything.
If rust appears deep or embedded in the coil area, stop cleaning immediately. Deep rust near the windings risks damaging the pickup’s sound characteristics. Leave these areas untouched.
Always work slowly. Rushing leads to accidents. Take breaks between steps. Your goal is removing surface rust safely, not achieving perfection. Cosmetic improvement matters less than protecting your pickup’s electronics.
Dry Cleaning Techniques for Pickup Coils and Sensitive Components
Dry cleaning is your safest approach when rust appears on pickup coils and sensitive components. This method keeps moisture completely away from electronics, which is the primary concern during any cleanup process.
Start with a soft brass brush or fine steel wool. These tools remove surface rust without generating moisture or liquid runoff. Gently brush the rusty areas using light, circular motions. You’re not trying to restore a mirror finish. You’re simply removing loose rust particles that sit on top of the metal.
Work slowly and deliberately to avoid accidentally brushing rust particles into crevices where they could contact wiring. The goal is surface level removal only. If rust sits deep in the metal itself, leave it alone. Deep rust requires liquid treatments that pose too much risk to your electronics.
Use compressed air to blow away loose rust particles after brushing. This keeps debris from settling into gaps around coils and wiring. Hold the air can upright and use short bursts rather than continuous spraying. This prevents moisture from the compressed air from settling on components.
For stubborn rust spots, try a pencil eraser. The rubber gently abrades surface rust without creating dust clouds or moisture. Test the eraser on a small area first to ensure it doesn’t damage the pickup’s finish.
Never use sandpaper or grinding tools on pickup components. These create excessive dust and heat that can damage delicate wiring insulation.
After dry cleaning, store your guitar in a low humidity environment. This prevents new rust from forming quickly. Use silica gel packets in your guitar case if you live in a damp climate.
Dry methods take patience, but they protect your pickup’s electronics completely. Your electronics will function perfectly while your pickups look cleaner and feel more secure in your hands.
Common Mistakes That Damage Electronics During Rust Removal
The biggest mistake guitar owners make is applying liquid cleaners directly to pickup coils and wiring. Water, vinegar, and other liquids seep into tight spaces. Once inside, moisture corrodes the delicate copper windings and connection points. Your pickup stops working or produces weak, distorted sound.
Excessive moisture is the silent killer of pickup electronics. Even small amounts of liquid can cause shorts. The coils contain hundreds of thin wire wraps. A single drop of moisture between these wraps creates a conductive path. Electricity flows where it shouldn’t. Your pickup fails.
Another common error is ignoring humidity during the cleaning process. You clean your pickup in a damp basement or bathroom. Moisture hangs in the air. Your cleaned components absorb this humidity. Rust returns faster than before. New corrosion forms inside the electronics where you can’t see it.
Many people also use aggressive tools on pickup components. Steel wool, sandpaper, and wire brushes shed tiny metal particles. These particles fall into gaps between coils and windings. Later, humidity causes these particles to oxidize. They create conductive bridges that short your pickup.
Rushing the process leads to disaster. You brush too hard. You apply cleaner too liberally. You skip the drying step. Each mistake compounds the damage.
Some guitarists also fail to protect surrounding electronics. They clean the pickup but splash liquid onto nearby wiring, pots, or switches. The entire electrical system becomes compromised.
The solution is simple: use dry cleaning methods only on coils and sensitive components. Reserve liquid cleaners for external hardware only. Work slowly and deliberately. Dry everything thoroughly afterward. Store your guitar in a dry environment. These habits keep your electronics safe while removing rust effectively.
Troubleshooting: What to Do If Moisture Gets Into Your Pickups
Moisture inside your pickups creates serious problems. Water can cause shorts in the coil windings and damage the magnet structure. If liquid gets into your pickup, act fast to prevent permanent damage.
First, stop playing immediately. Do not plug in your guitar or test the pickups. Electricity and moisture together destroy electronics quickly.
Open your guitar’s access plate or pickguard right away. Look at the pickup carefully to see where moisture sits. You might notice water droplets, condensation, or discoloration on the coil.
Use compressed air as your first tool. Hold the can upright and spray short bursts around the pickup area. The air pressure pushes moisture out without adding more liquid. Keep the nozzle at least six inches away from delicate wires.
Next, grab a soft cloth and gently wipe the pickup’s exterior. Pat the area dry rather than rubbing hard. Avoid pushing the cloth into tight spaces where it might trap moisture.
Place your guitar in a warm, dry location for 24 to 48 hours. A room with low humidity works best. You can also use a dehumidifier in the space to speed up the drying process. Never use direct heat like a hair dryer, as temperature changes can damage the pickup.
After the waiting period, inspect the pickup again. Look for any remaining moisture or corrosion spots. If you see rust forming, use dry cleaning methods only. A soft brass brush works well for light rust on pole pieces.
Test your guitar carefully before playing. Plug it in and listen for crackling, buzzing, or weak signals. These sounds mean moisture is still present. If problems continue, the pickup may need professional service.
Prevention matters most. Store your guitar in a case with a humidity packet. Check your case regularly for moisture buildup. Proper storage stops most moisture problems before they start.
Long-Term Prevention: Storage and Maintenance Tips to Stop Rust Before It Starts
Storing your guitar properly is your best defense against pickup rust. Keep your instrument in a climate controlled space where humidity stays between 40 and 50 percent. This range prevents moisture from building up on metal components while keeping wood from drying out.
Use a hard case rather than a soft gig bag whenever possible. Hard cases seal out moisture and dust far better than fabric alternatives. Place a humidity monitor inside your case so you can track conditions at a glance.
Silica gel packets work wonders for long term storage. Replace them every few months or whenever they become saturated. You’ll notice they change color when they absorb too much moisture. Store these packets in small cloth bags near your pickups but not touching them directly.
Keep your guitar away from bathrooms, basements, and kitchens. These rooms experience the most humidity fluctuations. Attics and garages also pose problems because temperature swings cause condensation on metal surfaces.
Regular playing actually helps prevent rust. When you play your guitar, your hands naturally deposit oils on the metal parts. These oils create a protective barrier against moisture. Guitars that sit untouched for months rust faster than instruments played weekly.
Clean your pickups with a dry cloth every month. This simple habit removes dust and prevents moisture from settling on the surface. Wipe the entire pickup area gently, paying special attention to crevices where rust starts.
If you live in a humid climate, consider a dehumidifier for the room where you store your guitar. This investment pays dividends by protecting not just your pickups but your entire instrument. Check your guitar monthly during humid seasons. Early detection stops rust before it becomes a real problem.
Final Thoughts
Cleaning rusted guitar pickups doesn’t need to feel scary. Rust is mostly a cosmetic problem. Your pickups can still sound great even with some surface rust on the screws or covers.
The real danger comes from moisture reaching the coils and wiring. Dry methods always win when you clean near sensitive electronic parts. Save liquid cleaners like vinegar for hardware pieces you can remove safely.
Patience matters more than speed here. Take your time inspecting each part before you start cleaning. Rushing leads to mistakes that damage your instrument’s electronics.
Prevention beats repair every single time. A good case, silica gel packets, and a dry storage spot protect your guitar better than any cleaning session. Regular playing also helps since your hands naturally deposit oils that fight rust.
If you’re unsure about the severity of rust on your pickups, ask yourself a simple question: does your guitar still sound normal? If yes, the rust is likely just cosmetic. You can leave it alone or clean it gently without worry.
For deeper rust or corrosion near the coils, consider getting help from a qualified guitar technician. Some jobs need professional tools and experience. Attempting complex electronic repairs yourself carries real risk.
Remember that your pickups are the heart of your guitar’s tone. Treating them with care protects your investment and your sound. A few minutes of careful maintenance now saves you costly repairs later.
Stay consistent with your cleaning routine and storage habits. Your guitar will reward you with reliable performance for years to come. Clean smart, store smart, and play with confidence.
Frequently Asked Questions
Does rust on guitar pickups actually affect how my guitar sounds?
No, rust on pickups is purely cosmetic. Your guitar will sound exactly the same whether the pickup has surface rust or not. The rust forms on the metal housing and screws, not on the coils that produce your tone. Sound quality remains unchanged because the electrical components work normally beneath the rust layer.
The real concern is moisture getting inside the electronics. That’s what damages your sound, not the rust itself. So if your pickups look rusty but your guitar sounds fine, you’re in good shape.
What’s the safest way to clean rust without damaging the wiring?
Keep all liquids away from the coils and wiring. Vinegar works great for rusty screws and hardware, but only soak those individual parts, never the pickup assembly itself.
For the pickup body, use dry methods only. Compressed air removes dust and debris safely. A soft, dry cloth gently wipes away surface rust. Avoid spraying anything directly onto the coil area. If rust sits near the wiring, stop and consider asking a guitar technician for help.
Can I use steel wool or a wire brush on my pickups?
No. Steel wool and wire brushes are too abrasive. They scratch the metal and can damage delicate components. Stick with soft cloths and gentle pressure instead.
How often should I clean my pickups to prevent rust?
A dry cloth wipe every month keeps pickups in good shape. Regular playing also helps because your hand oils protect the metal. The key is storage, though. Keep your guitar in a dry place, and rust rarely becomes a problem at all.

Hi, I’m Tessa! As a lifelong music lover and gear enthusiast, I started this blog to help fellow musicians navigate the overwhelming world of instruments and equipment. I spend my time researching, comparing, and reviewing musical gear so you can spend yours doing what matters most — making music.