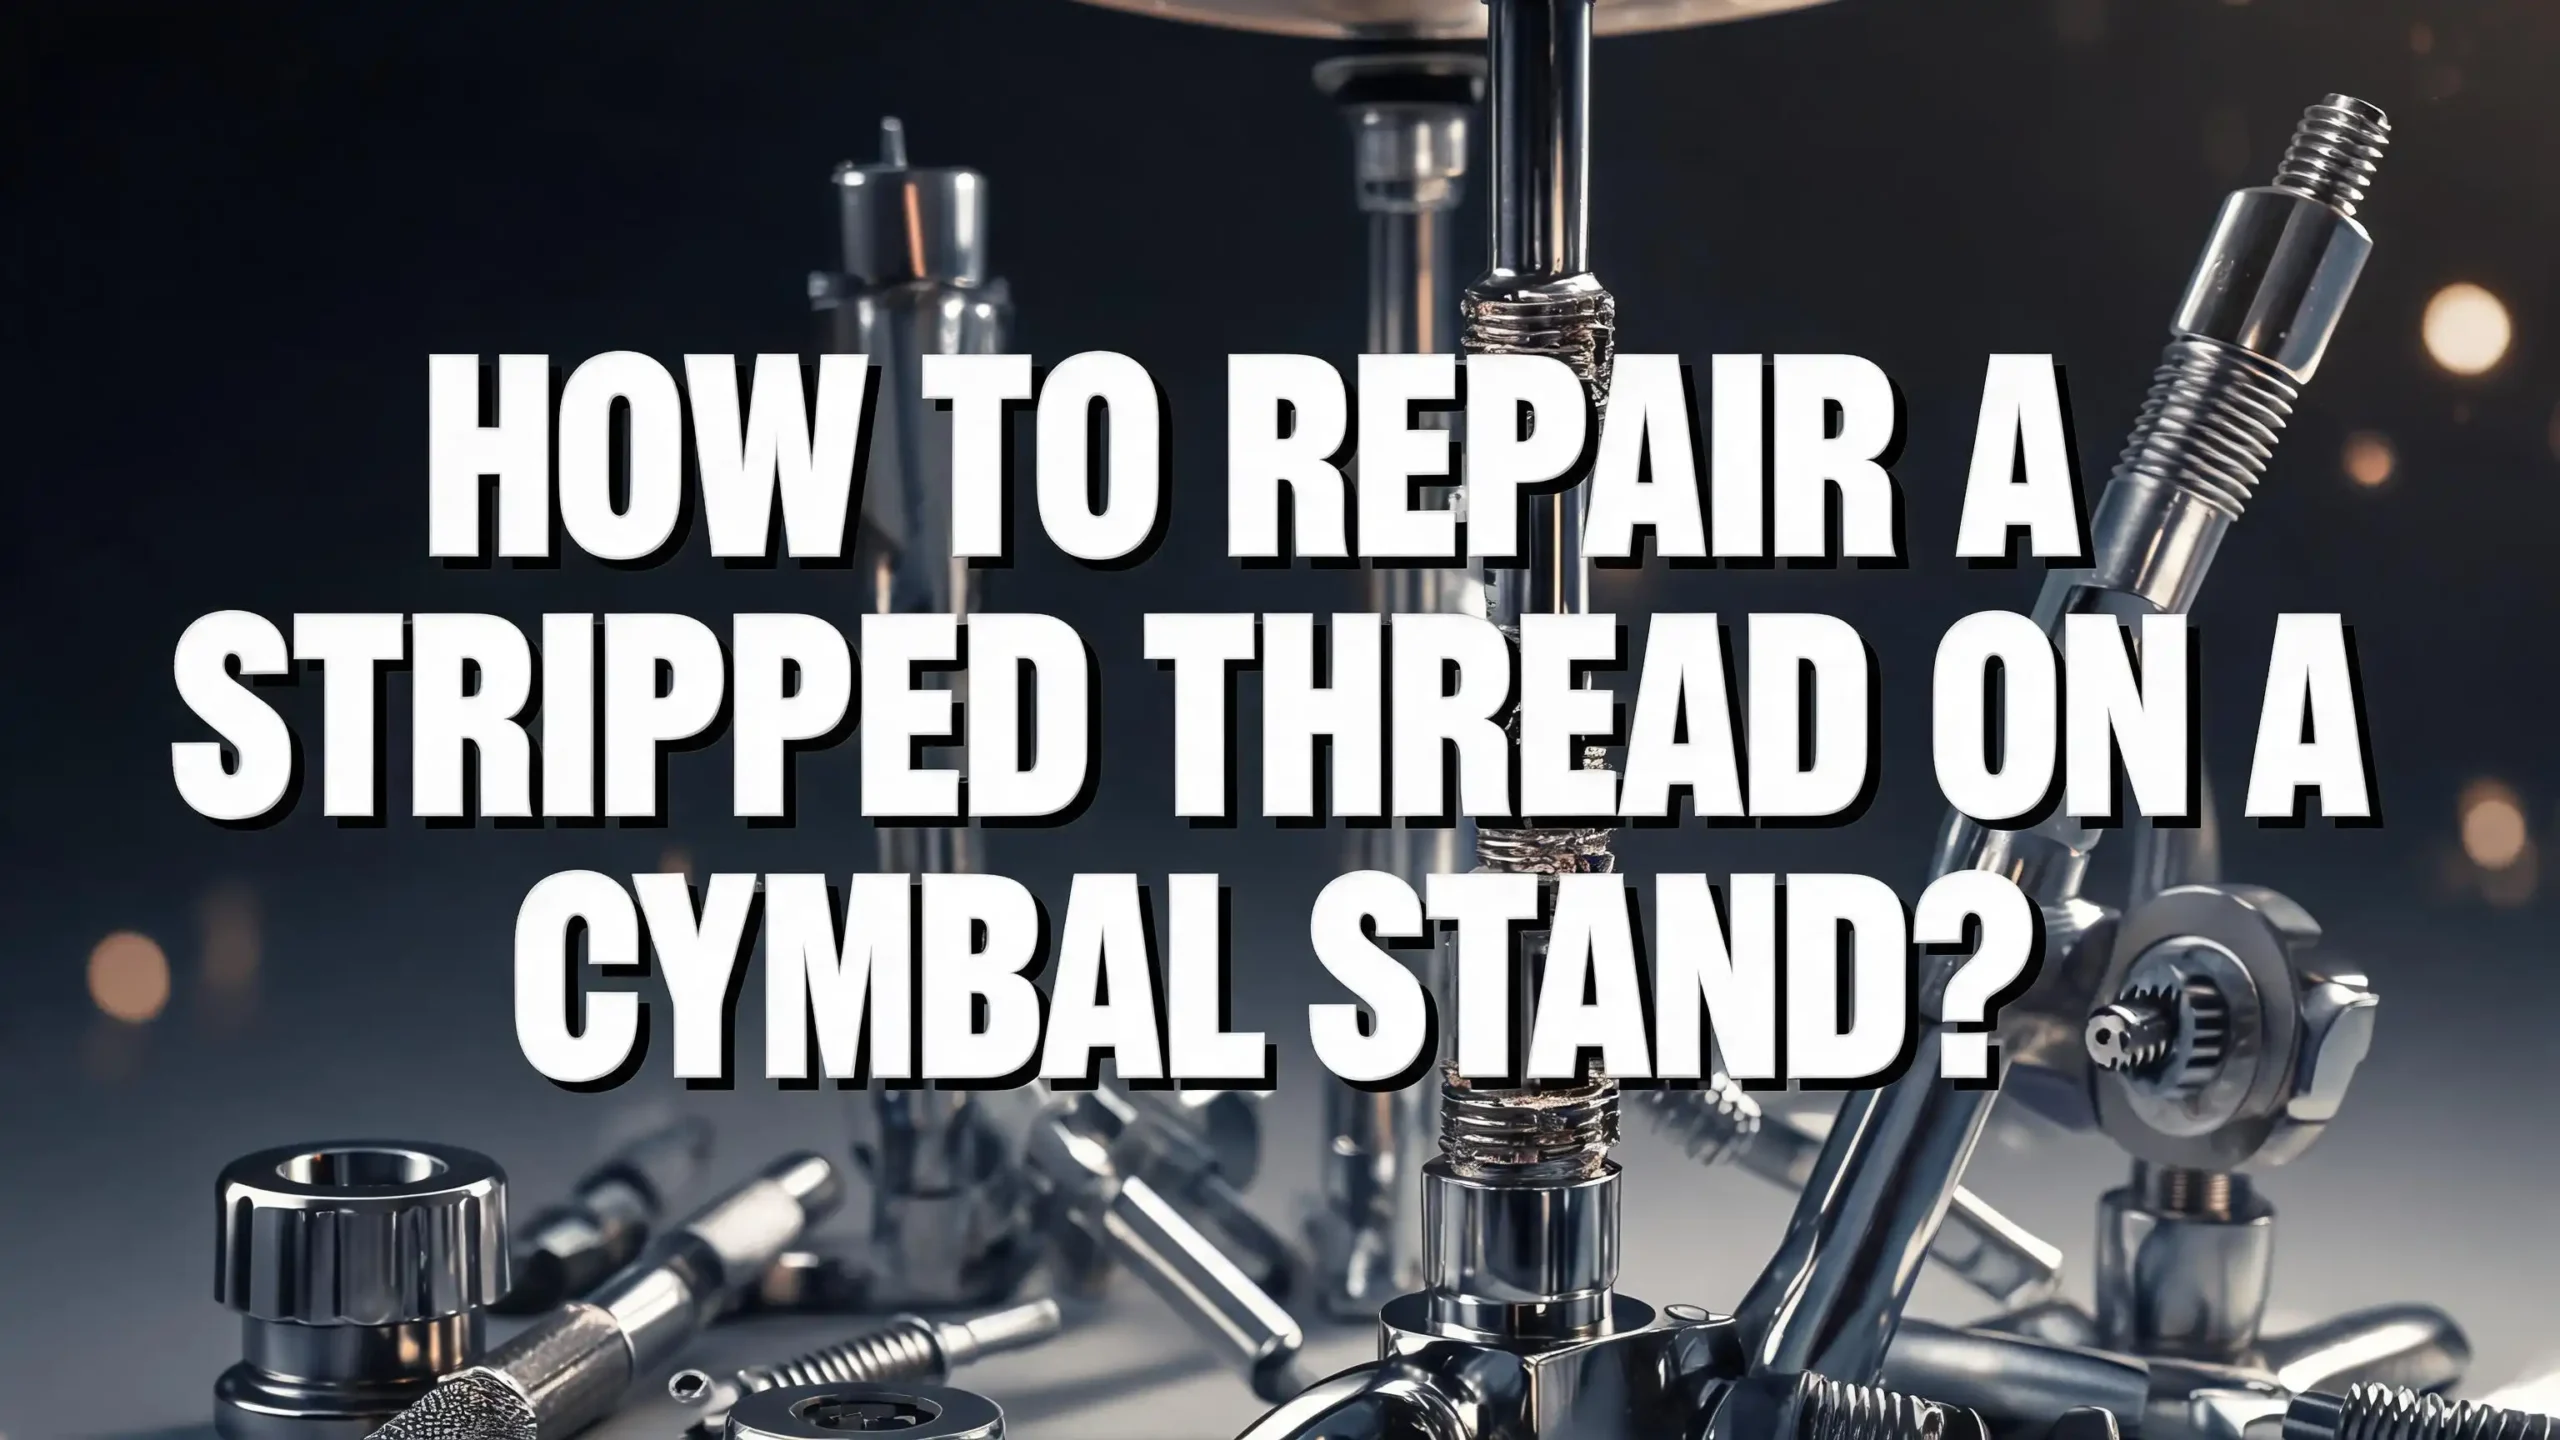
How to Repair a Stripped Thread on a Cymbal Stand?
A stripped thread on your cymbal stand is one of the most frustrating problems a drummer can face. You go to tighten the wing bolt on your tilter or height adjustment, and it just spins. The cymbal droops. The stand feels useless. You start wondering if the entire piece of hardware is headed for the trash.
Here is the good news: you do not need to throw away your cymbal stand. A stripped thread is a common issue that affects drummers at every level. Most modern cymbal stands use an 8mm 1.25 pitch metric thread, while older vintage stands often use a 1/4 inch 20 pitch thread.
Both types can strip out over time due to repeated tightening, overtorquing, or the soft pot metal that many manufacturers use in their castings. The fix is often simpler and cheaper than buying a replacement stand or replacement parts from the manufacturer.
This guide walks you through every practical method to repair a stripped thread on a cymbal stand. You will learn quick emergency fixes, permanent repair methods, the exact tools you need, and how to prevent the problem from happening again.
Key Takeaways
- Most cymbal stands use 8mm 1.25 metric threads as the industry standard since the 1980s. Older stands may use 1/4 inch 20 threads. Knowing your thread size is the first step to a successful repair.
- A tap and die set is the most accessible repair tool for most drummers. You can chase existing threads to clean them up or cut new, slightly larger threads in the stripped hole for just a few dollars.
- Helicoil thread inserts offer the strongest permanent repair. They restore the original thread size and create a steel insert that is actually stronger than the original pot metal threads. Many experienced drum techs and machinists recommend this method above all others.
- Thread repair epoxy compounds from brands like Permatex and Loctite can rebuild stripped threads without special tools. They work best on low stress joints but may not hold up to frequent tightening and loosening over years of use.
- Prevention saves time and money. Avoid overtightening wing bolts, keep threads clean and lightly lubricated, and always thread bolts in straight to prevent cross threading. A little care during setup and teardown goes a long way.
- Emergency fixes exist for on stage situations. Adding a washer as a shim, wrapping the bolt threads with plumber’s tape, or using a hose clamp can keep your cymbal in position until you get home to do a proper repair.
Understanding Why Cymbal Stand Threads Strip
Cymbal stand threads strip for a few key reasons, and understanding the cause helps you choose the right repair. The most common culprit is overtightening the wing bolt. Drummers often crank down on wing bolts to keep their cymbals from moving during aggressive playing. This excess force gradually wears away the softer metal in the threaded housing.
Most cymbal stand bodies are made from cast zinc alloy, often called pot metal. This material is affordable and easy to manufacture, but it is much softer than the steel wing bolts that thread into it. Every time you tighten a steel bolt into a zinc alloy housing, the harder steel slowly cuts into the softer zinc. After hundreds of setups and teardowns, the internal threads lose their shape.
Cross threading is another major cause. This happens when a bolt enters the hole at a slight angle and cuts a new, incorrect path through the existing threads. Cross threading can damage threads in a single occurrence. It often happens during rushed setups in dark venues or when a drummer is not paying close attention.
Corrosion also plays a role, especially for drummers who play outdoors or in humid environments. Moisture causes oxidation on metal threads. This buildup creates friction and makes bolts harder to turn. Forcing a corroded bolt creates extra stress that can strip threads.
Identifying the Type of Stripped Thread on Your Stand
Before you start any repair, you need to figure out exactly where the stripped thread is located and whether the damage is on the internal threads (the hole) or the external threads (the bolt). This distinction determines your repair approach.
Internal thread damage is far more common on cymbal stands. This is the threaded hole in the stand body where the wing bolt screws in. You will notice the wing bolt spinning freely without gripping, or it may feel loose and wobbly. Hold the stand section in one hand and try threading the wing bolt in with the other. If it turns with almost no resistance, the internal threads are stripped.
External thread damage happens on the wing bolt itself. Inspect the bolt threads closely under good lighting. Look for flattened, deformed, or missing thread peaks. If the bolt looks damaged, the fix is simple: replace the bolt. A hardware store will carry metric wing bolts in the correct size for a very low cost.
Partial stripping is also common. Sometimes only the first few threads inside the hole are damaged, while deeper threads remain intact. You can test this by adding a washer or two behind the wing bolt head before threading it in. The washers act as spacers that push the bolt deeper into the hole, allowing it to engage with the undamaged threads further inside.
Knowing the exact thread size matters for buying the right tools and parts. Grab a thread pitch gauge or take your wing bolt to a hardware store to identify the size. Most modern stands use M8 x 1.25 (8mm diameter, 1.25mm pitch). Older American made stands often use 1/4 inch 20 TPI.
Tools and Materials You Will Need
Gathering the right tools before you begin saves time and frustration. The specific items depend on the repair method you choose, but here is a general list that covers the most common approaches.
For thread chasing and re tapping, you need a tap in the correct size. An M8 x 1.25 taper tap covers most modern stands. You also need a tap wrench or T handle to turn the tap evenly. A small bottle of cutting oil or light machine oil reduces friction and helps the tap cut clean threads. Keep a rag handy to wipe away metal shavings.
For helicoil installation, you need a helicoil kit that matches your thread size. These kits typically include the correct drill bit, tap, installation tool, and the coil inserts themselves. You will also need a power drill or hand drill to enlarge the hole to the correct size before installing the insert.
For epoxy thread repair, you need a two part thread repair compound. You also need a release agent (often included in the kit) to coat the bolt so it does not bond permanently inside the repaired hole. Disposable gloves, a mixing surface, and a small applicator stick round out the supplies.
For emergency fixes, keep these items in your gig bag: plumber’s Teflon tape, a few metal washers in your thread size, and a small adjustable wrench. These items take up almost no space and can save a gig.
Method 1: Chasing Threads With a Tap
Thread chasing is the simplest repair method and works best when the threads are only partially damaged rather than completely stripped. The process uses a tap to clean and reshape the existing threads without removing significant material.
Start by selecting the correct tap size. For most modern stands, this is an M8 x 1.25 tap. Apply a small amount of cutting oil to the tap. Insert the tap straight into the threaded hole. This alignment is critical. A crooked tap will cause more damage.
Turn the tap clockwise slowly. You will feel it catch on the remaining thread material. After every half turn forward, reverse the tap a quarter turn back. This breaks the metal chips loose and prevents the tap from jamming. Continue this forward and back pattern until the tap passes through the full depth of the threaded hole.
Remove the tap and clean out all metal shavings with a rag or compressed air. Metal debris left inside the hole will interfere with the bolt and cause premature wear. Test the repair by threading your wing bolt in and out several times. It should turn smoothly with firm resistance.
Thread chasing works well on stands where the threads have surface corrosion or minor deformation. It will not restore threads that are completely gone. If the tap turns freely through the hole with no resistance at all, the damage is too severe for this method and you need to move to a helicoil or re tap to a larger size.
Method 2: Re Tapping to a Larger Thread Size
When the original threads are too far gone for chasing, re tapping the hole to accept a larger diameter bolt is a practical and cost effective solution. This method cuts brand new threads into the existing material at a slightly bigger size.
The most common upgrade path for a stripped M8 (8mm) hole is tapping it out to a 5/16 inch 18 thread. The 5/16 inch diameter is close enough to 8mm that the hole usually does not need drilling first. You simply run the larger tap through the old hole and it cuts fresh threads in the remaining material.
Secure the stand component in a vise or clamp so it does not move while you work. Apply cutting oil to the new tap. Insert it straight into the hole and turn it clockwise, using the same half turn forward and quarter turn back pattern. Go slowly and let the tap do the work. Do not force it.
After tapping, clean out all debris thoroughly. You will now need a 5/16 inch 18 wing bolt to match the new threads. These are easy to find at any hardware store. The new bolt will look slightly different from the original, but it will function the same way.
The downside of this method is that you cannot go back to the original size. You have permanently enlarged the hole. For vintage or collectible stands, this may reduce their value. For everyday gigging hardware, it is a perfectly acceptable and reliable fix. One forum user reported fixing a stripped cymbal stand with a 5/16 tap from the hardware store and getting clean, shiny new threads that worked perfectly.
Method 3: Installing a Helicoil Thread Insert
The helicoil method is widely considered the gold standard for stripped thread repair. It restores the original thread size and creates an insert that is stronger than the original threads. Many drum technicians, machinists, and experienced forum members recommend this approach.
A helicoil is a coiled wire insert made from stainless steel. It sits inside a specially tapped hole and provides a new set of threads at the original size. The steel coil is far more durable than the original zinc alloy threads, so the repair actually improves on the factory design.
To install a helicoil, first drill out the damaged hole to the specific size indicated in your helicoil kit. Each kit specifies the exact drill bit diameter. After drilling, use the special helicoil tap (included in the kit) to cut threads in the enlarged hole. These are slightly larger threads that accept the coil insert.
Thread the coil insert onto the installation tool that comes with the kit. Drive it into the freshly tapped hole by turning clockwise. The insert should sit just below the surface of the hole. Once installed, break off the installation tang at the bottom of the insert if your kit includes one.
Test the repair by threading your original wing bolt into the new helicoil. It should feel smooth, firm, and precise. The bolt will thread in and out at the original size because the inner diameter of the helicoil matches the original thread specification.
The main drawback is cost. A helicoil kit for a single thread size can seem expensive if you only need one repair. However, most kits include multiple inserts, so you can repair several stands or other hardware items with one purchase.
Method 4: Using Thread Repair Epoxy
Thread repair epoxy is an appealing option for drummers who want a fix without buying specialized tools. Products from manufacturers like Permatex and Loctite offer two part epoxy compounds that rebuild stripped threads using a chemical bonding process.
The process is straightforward. Mix the two epoxy components according to the product instructions. Apply the mixed epoxy into the stripped threaded hole, filling the area where the old threads used to be. Coat your wing bolt with the release agent provided in the kit. This prevents the bolt from bonding permanently to the epoxy.
Thread the coated bolt into the epoxy filled hole. The bolt acts as a mold, creating new thread impressions in the epoxy as it cures. Leave the assembly undisturbed for the full curing time specified on the product label. This is typically 12 to 24 hours for full strength.
After curing, unscrew the bolt. You will find clean, sharp thread impressions in the hardened epoxy. The repair is ready to use.
The question most drummers ask is whether epoxy threads hold up to repeated use. The honest answer is that results vary. Epoxy works well for joints that see moderate stress and occasional adjustment. A cymbal tilter that gets tightened once per gig and loosened once per gig may hold up for a long time. A height adjustment that gets cranked down aggressively at every show will likely wear the epoxy threads faster.
Epoxy repair works best as a budget friendly solution or a semi permanent fix for stands that do not get heavy use. For touring hardware that faces constant setup and teardown, a helicoil offers better long term durability.
Quick Emergency Fixes for Gig Situations
Your thread strips at soundcheck. The gig starts in twenty minutes. You need a solution right now. Here are several emergency fixes that can keep your cymbal in position until you get home for a proper repair.
The washer shim method works for partially stripped threads. Place one or two flat metal washers over the bolt before threading it in. The washers push the bolt deeper into the housing where undamaged threads may still exist. This takes seconds and often provides enough grip to get through a show.
Plumber’s Teflon tape is a classic quick fix. Wrap several layers of Teflon tape around the wing bolt threads. The tape fills the gap between the bolt and the stripped hole, creating friction that holds the bolt in place. Carry a small roll in your hardware bag at all times. It weighs almost nothing and has saved countless gigs.
A hose clamp can replace a stripped height adjustment bolt in a pinch. Slide a small radiator hose clamp or muffler clamp over the telescoping tube and tighten it with a screwdriver. It acts like a memory lock, holding the tube at the correct height through friction rather than threading.
Gaffer tape wrapped tightly around the joint can also provide temporary stability. It is not elegant, and it will not hold up to aggressive playing, but it can keep a cymbal from drooping during a set.
The key with all emergency fixes is to plan a real repair as soon as possible. Temporary solutions put additional stress on the hardware and can make the underlying problem worse if left in place too long.
How to Prevent Stripped Threads in the Future
Prevention is always easier and cheaper than repair. A few simple habits will dramatically extend the life of the threads on all your cymbal stands and drum hardware.
Stop overtightening. This is the single most important change most drummers can make. Wing bolts only need to be finger tight plus a small fraction of a turn. If you are using pliers or a drum key to tighten wing bolts, you are applying far too much force. The bolt needs to hold the joint firm, not crush it.
Thread bolts in straight every time. Before tightening, turn the wing bolt counterclockwise until you feel a small click. That click is the starting thread dropping into alignment. Now turn clockwise. This technique prevents cross threading, which is one of the fastest ways to destroy threads.
Keep threads clean. Wipe down bolt threads and threaded housings with a dry rag during routine maintenance. Remove any grit, dirt, or corrosion buildup. Even small particles of debris act like sandpaper between metal surfaces and accelerate thread wear.
Apply a thin film of light lubricant to threads periodically. A small amount of white lithium grease, light machine oil, or even a dry silicone spray reduces friction and protects against corrosion. Do not use heavy grease that attracts dust.
Store your stands properly. Leaving wing bolts loosely threaded into their holes during storage prevents the internal threads from collecting dirt and protects the opening from impact damage during transport.
Working With Vintage Cymbal Stand Threads
Vintage cymbal stands require special consideration because they often use thread sizes that differ from the modern 8mm standard. If you own stands made before the 1980s, the threads are most likely 1/4 inch 20, which was the dominant thread used by American manufacturers like Ludwig, Slingerland, and Rogers.
The 5/16 inch 18 thread also appears on many vintage stands, particularly those made by Gretsch and some Japanese manufacturers from the 1960s and 1970s. This thread looks similar to 8mm but has a different pitch. Trying to force an 8mm bolt into a 5/16 inch hole, or vice versa, will cause cross threading and damage both components.
Before repairing a vintage stand, identify the exact thread type. Take the wing bolt to a well stocked hardware store and match it against known thread sizes using a thread gauge. Many hardware stores have a thread identification board with labeled sample bolts.
Vintage stands often use pot metal castings that are softer and more brittle than modern alloys. This means the threads strip more easily, but it also means the material is easier to re tap. Use extra care and plenty of cutting oil when tapping vintage parts. Go slowly and do not force the tap.
For collector grade vintage stands, a helicoil repair preserves the original thread size and avoids enlarging holes. This maintains the stand’s originality and value better than re tapping to a larger size. If the stand is a player grade piece that you intend to use on gigs, re tapping is perfectly fine.
When to Replace Instead of Repair
Not every stripped thread is worth repairing. Sometimes the smartest move is to replace the damaged component or the entire stand. Knowing when to repair and when to replace saves you from wasting time on a fix that will not last.
Replace the stand if the stripping has happened in multiple locations. A stand with stripped threads at the tilter, the height adjustment, and the tripod clamp has systemic material failure. The metal is worn out, and fixing one spot means another will likely fail soon.
Replace the individual part if your stand uses modular components. Many modern stands from major manufacturers have replaceable tilters, clamps, and tube sections. Ordering the specific part with fresh threads is often faster and more reliable than repairing the old one. Contact the manufacturer’s parts department or check with a drum shop.
Replace the wing bolt if the external threads on the bolt are damaged but the internal threads in the stand are fine. This is the simplest and cheapest fix possible. A matching wing bolt from a hardware store costs very little.
Consider the stand’s overall condition before investing time and money in a thread repair. If the stand is also wobbly at the legs, has bent tubes, or shows heavy corrosion throughout, a repair to one thread will not make it reliable hardware. Your money and effort are better spent on a replacement stand that will serve you well for years.
However, if you have a single stripped thread on an otherwise solid stand, repair is almost always the right call. The methods described in this guide can make the repaired joint as strong or stronger than it was originally.
Step by Step Helicoil Repair Walkthrough
Here is a detailed walkthrough of the full helicoil process applied specifically to a cymbal stand, since this is the most durable repair option.
Step 1: Remove the damaged component from the stand if possible. If the tilter or clamp detaches, take it off and secure it in a small vise with soft jaws or padded clamp surfaces to avoid scratching the finish.
Step 2: Select your helicoil kit based on the thread size. For a modern stand, get an M8 x 1.25 helicoil kit. For a vintage stand, get a 1/4 inch 20 kit. Each kit specifies the correct drill bit size.
Step 3: Drill out the stripped hole using the specified drill bit. Go straight and steady. Use a center punch first if needed to keep the drill from wandering. Drill to the full depth of the original threaded hole.
Step 4: Use the helicoil tap from the kit to cut new, oversized threads in the drilled hole. Apply cutting oil. Turn the tap using the half forward and quarter back method. Continue until the tap reaches full depth.
Step 5: Clean all metal shavings from the hole with compressed air or a pipe cleaner. Any debris left behind will interfere with the insert installation.
Step 6: Thread the coil insert onto the installation mandrel (included in the kit). Insert it into the tapped hole and turn clockwise. Drive it in until the top of the coil sits about one quarter turn below the surface of the hole opening.
Step 7: If the insert has a drive tang at the bottom, break it off using the tang break tool or a small punch. This opens up the full thread length inside the insert.
Step 8: Thread your original wing bolt into the completed helicoil. It should turn smoothly and firmly. Reassemble the stand and test by tightening and loosening the bolt several times.
Choosing the Right Repair Method for Your Situation
Each repair method suits different situations. Picking the right one depends on the severity of the damage, your tools, your budget, and how you use the stand.
Choose thread chasing if the threads are dirty, corroded, or only lightly damaged. This is the fastest and cheapest option. It requires only a tap and some oil. It works best as a first attempt before escalating to more involved repairs.
Choose re tapping to a larger size if the original threads are completely gone and you do not mind using a slightly larger bolt. This method is simple, affordable, and reliable. It works especially well on player grade stands where maintaining the original thread size does not matter.
Choose a helicoil if you want the strongest and most permanent repair, or if you need to maintain the original thread size. This is the preferred method for vintage stands, expensive hardware, and touring gear that must be absolutely reliable. The repair creates threads that are stronger than the factory originals.
Choose epoxy thread repair if you have no access to metalworking tools and need a low skill fix. This works for stands that see light to moderate use. It is a good option for a practice room stand that gets set up once and left in place for weeks at a time.
Choose an emergency fix if you are at a gig and cannot do a proper repair until later. Use Teflon tape, washers, or a hose clamp to get through the show, then repair the stand at home with one of the permanent methods.
No single method is best for every situation. Evaluate your specific needs and choose the approach that gives you the best balance of cost, durability, and practicality for your playing situation.
Frequently Asked Questions
What thread size do most cymbal stands use?
Most modern cymbal stands manufactured after 1980 use an M8 x 1.25 metric thread (8mm diameter with a 1.25mm pitch). This is the global standard used by nearly all major drum hardware brands. Older American made stands from Ludwig, Slingerland, Rogers, and Gretsch typically use 1/4 inch 20 threads. Some budget stands and lighter hardware pieces use a smaller 6mm x 1.0 thread, which is more prone to stripping due to its finer pitch. Always verify your thread size before purchasing repair tools or replacement bolts.
Can I use a helicoil on a cymbal stand made of pot metal?
Yes, helicoils work well in pot metal. In fact, they are one of the best repair options for soft metal castings because the stainless steel coil insert is much harder than the surrounding zinc alloy. The insert bears the load of the bolt, so the softer parent material only needs to hold the outer threads of the coil. Many drum technicians have reported that helicoil repairs in pot metal stands have lasted for years through constant gigging and setup teardown cycles.
Is thread repair epoxy a permanent fix?
Thread repair epoxy provides a semi permanent fix that works well for low stress and moderate use applications. The cured epoxy can handle regular tightening and loosening, but it may wear down faster than metal threads under heavy use. Stands that travel to gigs frequently and undergo aggressive tightening will eventually wear through the epoxy threads. For best results, treat epoxy repaired threads gently and avoid overtightening.
How do I know if my threads are stripped or just dirty?
Try cleaning the threads first. Apply a small amount of penetrating oil to both the bolt and the hole. Let it soak for a few minutes, then wipe away debris and try threading the bolt in again. If the bolt catches and tightens with firm resistance, the threads were just dirty or corroded. If the bolt still spins freely with no grip, the threads are stripped and need repair. Examining the bolt threads under a magnifying glass can also reveal whether the thread peaks are deformed or intact.
Can I prevent cymbal stand threads from stripping?
Absolutely. The most effective prevention is to avoid overtightening wing bolts. Use finger pressure only and add just enough extra turn to hold the joint securely. Always start bolts by turning counterclockwise first until you feel them drop into the starting thread, then turn clockwise. This prevents cross threading. Keep threads clean and apply a light lubricant periodically. Store stands with bolts loosely engaged to keep dirt out of threaded holes. These habits will significantly extend the life of your hardware.
Should I repair my cymbal stand or just buy a new one?
Repair makes sense when you have a single stripped thread on an otherwise sound stand. The cost of a tap, helicoil kit, or epoxy compound is far less than a new quality cymbal stand. Repair is also the right choice for vintage or sentimental stands. Replace the stand if multiple threads are stripped, the metal is cracked, the tubes are bent, or the overall structure is compromised. A stand with widespread problems is not worth the investment of time and materials to fix one thread.

Hi, I’m Tessa! As a lifelong music lover and gear enthusiast, I started this blog to help fellow musicians navigate the overwhelming world of instruments and equipment. I spend my time researching, comparing, and reviewing musical gear so you can spend yours doing what matters most — making music.