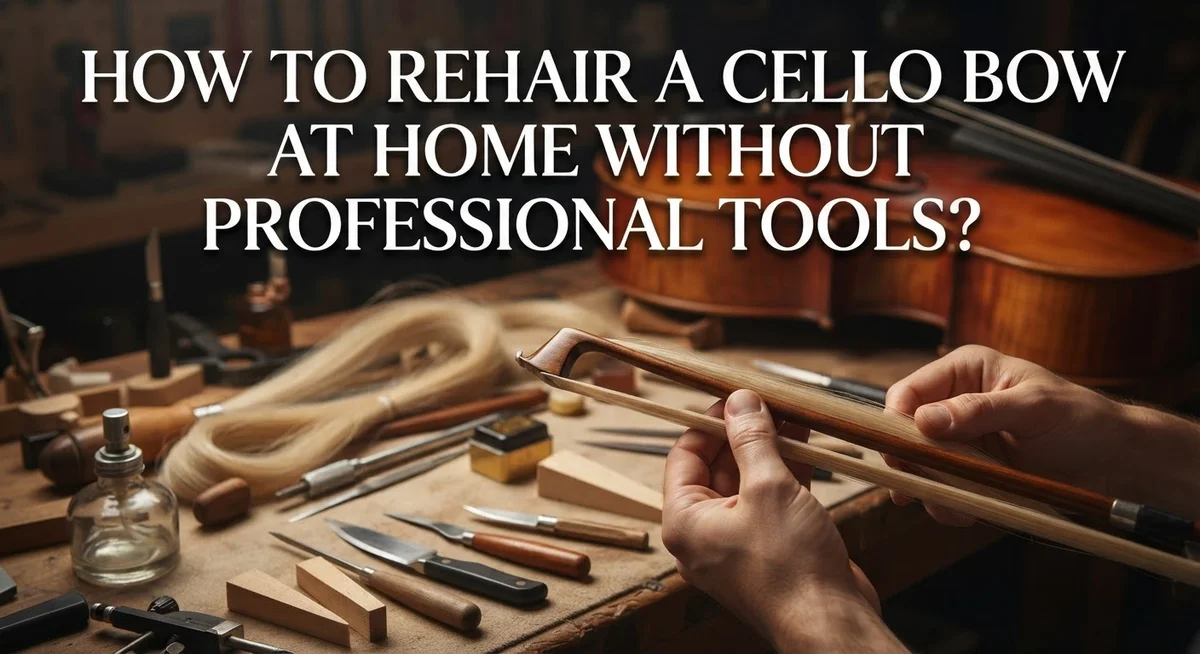
How to Rehair a Cello Bow at Home Without Professional Tools?
Does your cello bow feel bald and lifeless? Old, worn hair makes it hard to produce a rich tone. Many players think they must send their bow to a shop and wait weeks for a fix.
Good news: you can rehair a cello bow at home. You do not need fancy workshop gear or years of training. A simple desk, a hobby knife, and a lighter can get the job done.
This guide walks you through the entire process step by step. You will learn how to secure the bow, remove old hair, and prepare fresh hair for use. We also cover how to tighten the bow screw correctly.
We will also point out common mistakes, like over tightening the screw or leaving loose hair at the frog. Avoiding these errors saves you time and protects your bow from damage.
By the end, you will feel confident handling this task yourself, right from your own bedroom or living room.
In a Nutshell
- You do not need a workshop. A regular desk or table works fine for this task.
- Basic tools are enough. A hobby knife, a lighter, and a clamp handle the whole job.
- Secure the bow first. Clamp it firmly before you loosen the screw at the frog.
- Remove the old hair carefully. Then measure and prepare your new hair for installation.
- Attach hair at both ends. Secure it tightly at the frog and the tip for even tension.
- Avoid over tightening the screw. This single mistake causes warping or breakage.
- Tighten gradually and check tension. Loose hair at the frog often leads to meshing problems.
What You Need: Simple Household Tools Instead of a Workshop
You need very few items to rehair a cello bow at home. Most people already own these basic tools in their kitchen or craft supplies.
A hobby knife is your main cutting tool. It cuts horsehair cleanly and precisely. Make sure the blade is sharp before you start. A dull blade tears hair instead of slicing it.
A lighter serves an important purpose. When you heat the ends of horsehair slightly, it expands and creates a fluffy bundle. This fluffy end grips better inside the frog and tip. Hold the lighter a few inches away and pass the hair through the flame quickly. Do not burn the hair.
You need something to secure the bow firmly. A table clamp works perfectly for this job. If you don’t have a clamp, use a heavy book or a vise. The bow must stay completely still while you work. Any movement makes the job harder and creates mistakes.
A measuring tool helps you get the right amount of hair. A simple ruler or measuring tape does the job. You need enough hair to create proper tension without being too thick.
A small container holds your new horsehair while you work. Any small bowl or cup works fine.
Finally, you need good lighting. Work near a window or use a desk lamp. You must see the frog clearly and watch the hair placement carefully.
That’s it. These everyday items are all you need. You don’t need expensive professional equipment or a special workshop. Your bedroom, kitchen table, or living room becomes your bow reharing station. Start with what you have at home.
Understanding Your Cello Bow: Frog, Tip, and Screw Mechanics
Your cello bow has three main parts that work together to hold and tighten the hair. Understanding how these components function makes the reharing process much easier.
The frog is the wooden piece at the bottom of the bow where the hair attaches. This part slides along the stick and holds the hair bundle firmly in place. The frog contains a small opening where the hair passes through. When you loosen the screw, the frog moves away from the stick, creating slack in the hair. This slack lets you remove old hair and install new strands.
The tip is the pointed end of the bow at the opposite side from the frog. Hair wraps around a small notch or groove at the tip and gets secured there. The tip stays stationary while the frog moves. This design creates tension across the entire hair length.
The screw mechanism controls everything. You turn this screw clockwise to tighten the hair and counterclockwise to loosen it. The screw connects to the frog through a metal rod inside the bow stick. As you turn the screw, the rod pushes the frog away from the tip, which stretches the hair tight.
These three parts work as a system. The frog holds one end of the hair, the tip holds the other end, and the screw creates the tension between them. When any part fails, the whole bow stops working properly.
Before you start reharing, spend a few minutes examining your bow. Locate each part and understand how they connect. This knowledge prevents mistakes during installation and helps you avoid over tightening, which causes serious damage to your bow.
Step-by-Step: Removing the Old Hair Safely
Start by securing your cello bow firmly to a desk or table. Use a clamp or even heavy books to hold it steady. This prevents the bow from rolling or shifting while you work.
Next, locate the screw at the frog. This is the wooden piece at the bottom of your bow. Turn the screw counterclockwise slowly to loosen it completely. You want the bow hair to go slack so you can remove it easily.
Once the hair is loose, use your hobby knife to cut through the hair bundle at the frog end. Work carefully and make small cuts. Cut the hair in sections rather than trying to slice through everything at once.
After cutting at the frog, move to the tip. The tip is the pointed end opposite the frog. Cut the hair bundle here as well. Again, use small controlled cuts to avoid damaging the wood underneath.
Now gently pull away the old hair from both ends. Some hair strands may stick to the bow wood. Use your hobby knife to scrape these away carefully. Don’t dig into the wood itself.
Once all old hair is removed, inspect the frog and tip. Look for any glue residue or stuck hair. Clean these areas thoroughly with your knife blade held at a shallow angle.
Finally, examine the screw mechanism. Make sure it turns smoothly. If it feels stiff, apply a tiny bit of lubricant. This ensures smooth operation when you tighten the new hair later.
Your bow is now ready for new hair installation.
Step-by-Step: Measuring, Cutting, and Preparing New Hair
Measuring your new horsehair correctly ensures your bow works properly after reharing. Start by examining how much hair your bow originally held. Most cello bows use between 150 and 200 individual hairs, though this varies by bow size and age.
Gather your new horsehair and lay it flat on a clean surface. Use a measuring tool or ruler to check the length. Your new hair should be slightly longer than the distance from the frog to the tip. This extra length gives you room to work and secure the hair firmly at both ends.
Count out the hairs you need for your bundle. You can do this by separating them into smaller groups. Work slowly to avoid tangling. A bundle that feels thick as a pencil is usually correct for most cello bows.
Now prepare the hair ends for attachment. Use your lighter to carefully expand each end of the hair bundle. Hold the lighter near, not directly touching, the horsehair. The heat causes the hair to fluff slightly, which helps it grip better in the frog and tip slots. Work on both ends of your bundle.
Next, straighten any kinks in your hair. Gently run your fingers along the bundle from one end to the other. Remove any debris or dust caught in the strands.
Place your prepared hair bundle in a small container nearby. Keep it organized and ready for installation. Your hair is now measured, cut, and prepared for the next step. The preparation work you do now prevents problems during installation and ensures your bow performs well after reharing.
Step-by-Step: Securing Hair at the Frog and Tip
Securing your new hair at the frog requires patience and precision. Start by positioning your hair bundle into the frog’s slot. The hair should sit flush against the wooden surface with no gaps or loose strands sticking out sideways.
Use your hobby knife to create a small notch if needed. This helps the hair sit deeper into the frog slot. Push the hair in firmly so it won’t slip during tightening. The goal is a tight, secure fit before you add any tension.
Now move to the tip end of your bow. Thread your hair bundle through the tip’s opening carefully. Make sure all hairs pass through together without tangling or splitting into groups. Pull the bundle straight and even on both sides.
At the tip, you may need to wrap the hair bundle with thread or thin string. This keeps all hairs together as one unit instead of spreading apart. Wrap firmly but not so tight that you crush the horsehair. Three to four wraps around the bundle works well for most bows.
Return to the frog and check your hair tension. The bundle should feel snug but not painfully tight. You can adjust it slightly if needed before final tightening.
Once both ends feel secure, you’re ready for the screw. Tighten the bow screw clockwise very slowly. Turn it just a quarter rotation at a time. Stop frequently to check your hair tension and alignment. Never rush this step, as over tightening damages both the bow and new hair. Your hair should feel firm and ready to play once you finish tightening gradually.
Reassembling and Tensioning the Bow Correctly
Reassembling your cello bow correctly ensures it plays properly and lasts for years. Start by checking that your new hair sits evenly at both the frog and tip. The hair bundle should lie flat and centered, not twisted or bunched to one side.
Now locate the screw mechanism at the frog. This screw controls all the tension in your bow. Turn it slowly in the clockwise direction to tighten. Move gradually and pause every few turns to check your progress.
Test the tension as you go. Press the hair bundle gently with your finger. It should feel firm but not rock hard. Many people over tighten the screw, which causes the bow to warp or even crack. Stop tightening once the hair feels properly snug.
Your goal is to create even tension across the entire hair bundle. Uneven tension causes the hair to mesh or tangle during playing. If you notice the hair twisting, loosen the screw slightly and reposition the bundle at the frog.
Check the hair at the tip as well. It should stay secure without slipping. If the hair slides around, you may need to wrap it more tightly with thread before proceeding.
Take your time with this step. Rushing leads to mistakes that damage your bow. Tighten the screw a quarter turn at a time. After each adjustment, step back and look at your work from different angles.
Once the tension feels balanced and the hair sits evenly, your reassembly is complete. Your bow is now ready to use. Test it gently on an open string to feel how it responds before playing full pieces.
Common Mistakes and How to Avoid Damaging Your Bow
Over tightening the bow screw stands as the most damaging mistake you can make during reharing. The screw controls hair tension, and excessive force warps the bow wood or snaps the frog entirely. Turn the screw slowly and stop when you feel resistance. Your hair should feel firm but not rock hard.
Insufficient hair tension at the frog and tip causes another frequent problem. Loose hair bundles slip and mesh together during playing. This ruins your bow’s sound and wastes your reharing effort. Check that both ends grip the hair firmly before you finish tightening.
Applying uneven tension across the hair bundle creates playability issues. Some hairs sit too tight while others stay slack. Press gently along the entire bundle length to feel for lumps or gaps. Adjust gradually until the tension feels consistent from frog to tip.
Using a dull hobby knife leads to messy cuts and frayed hair ends. Sharp blades create clean cuts that secure better at attachment points. Replace your blade if it requires extra pressure to cut through hair.
Heating the hair ends too much with a lighter causes brittle, damaged strands. Brief exposure expands the hair slightly for easier securing. Hold the lighter several inches away and move it quickly. Overheating creates weak spots that break during playing.
Rushing through the reassembly process causes most accidents. Work slowly and check your progress frequently. Take breaks if you feel frustrated or tired. Your bow deserves careful attention to function properly and last for years.
Troubleshooting Uneven Tension, Meshing, and Slipping Hair
When your cello bow hair starts slipping or meshing unevenly, the problem usually stems from three main issues. Uneven tension across the hair bundle creates gaps where individual strands slip past each other. Meshing happens when hairs tangle together instead of lying flat and parallel. Slipping occurs when the hair doesn’t grip firmly at either the frog or tip.
Start by checking your frog attachment first. Loosen the bow screw slightly and inspect how tightly the hair bundle sits in the frog slot. If you see any movement or wiggle, the hair needs more secure anchoring. Use your hobby knife to gently wedge the hair bundle deeper into the slot. The hair should feel completely immobile when you tug it gently.
Next, examine the tip end. Hair slipping at the tip often means insufficient wrapping or loose thread binding. If you used thread to secure the bundle, try rewrapping it more tightly. Make sure the thread wraps around the hair at least three to four times before knotting.
For meshing problems, check if your hair bundle has too many strands packed together. Separate any tangled sections with a fine comb or your fingers before tightening the screw.
When tightening the bow screw, turn it clockwise very slowly. Stop frequently to feel the hair tension with your finger. The hair should feel firm but not rock hard. Uneven tension disappears when you tighten gradually and test constantly.
Never force the screw if resistance builds up. This indicates a problem with hair positioning, not insufficient tightening. Loosen the screw, reposition your hair bundle, and try again.
Final Thoughts
Rehairing your cello bow at home is a skill you can truly learn. You do not need a professional workshop or expensive tools. A simple desk, a hobby knife, and a lighter are enough to get started.
Patience matters more than fancy equipment. Every step, from securing the bow to tightening the screw, rewards a slow and steady approach. Rushing almost always leads to mistakes.
Remember that practice builds confidence. Your first attempt might not look perfect, but each try teaches you something new about tension and hair placement.
Pay close attention to the small details. The way hair sits at the frog and tip determines how your bow performs. Small adjustments make a big difference in sound quality.
Keep your tools sharp and your movements gentle. A clean cut and steady hands prevent frayed ends and uneven bundles. These small habits protect your bow over time.
Trust the process even when it feels tricky. Many cellists have successfully taught themselves this skill using basic household items. You can do the same with focus and care.
If something feels off, stop and check your work. It is better to pause and fix an issue than to push forward and damage the bow.
Over time, rehairing your own bow becomes easier and faster. What once felt uncertain will start to feel natural and satisfying.
In the end, rehairing your cello bow at home is a rewarding project. It saves money, builds skill, and deepens your connection with your instrument. With practice, you will handle this task confidently every time.
Frequently Asked Questions
Can you really rehair a cello bow without professional tools?
Yes, you can. Many people successfully rehair bows at home using basic items. You need a hobby knife, a lighter, and something to secure your bow like a desk clamp or table edge. Professional equipment is not required to complete this task well.
What is the biggest mistake beginners make?
Over tightening the bow screw causes the most damage. When you turn the screw too much, the wood warps or cracks. Turn the screw clockwise slowly and stop as soon as you feel resistance. Your bow needs tension, but not excessive force.
How do you know if your hair tension is correct?
Press the hair bundle gently with your finger. It should feel firm but not rock hard. The hair should sit evenly across both the frog and tip. If the bundle feels loose or slack, add more tension. If it feels too tight, you may damage the bow.
Why does hair mesh or slip after rehairing?
This happens when tension is uneven or insufficient at the frog and tip. Check that your hair attachment points are secure and tight. Make sure your hair bundle has the right number of strands. Too many strands packed together cause meshing problems. Too few strands create slipping issues.
How long does it take to rehair a bow at home?
Your first attempt takes one to two hours. You will work slower because you are learning. With practice, the process gets faster. Once you understand each step, future rehairing sessions take thirty to forty five minutes. Speed increases as your confidence grows.

Hi, I’m Tessa! As a lifelong music lover and gear enthusiast, I started this blog to help fellow musicians navigate the overwhelming world of instruments and equipment. I spend my time researching, comparing, and reviewing musical gear so you can spend yours doing what matters most — making music.