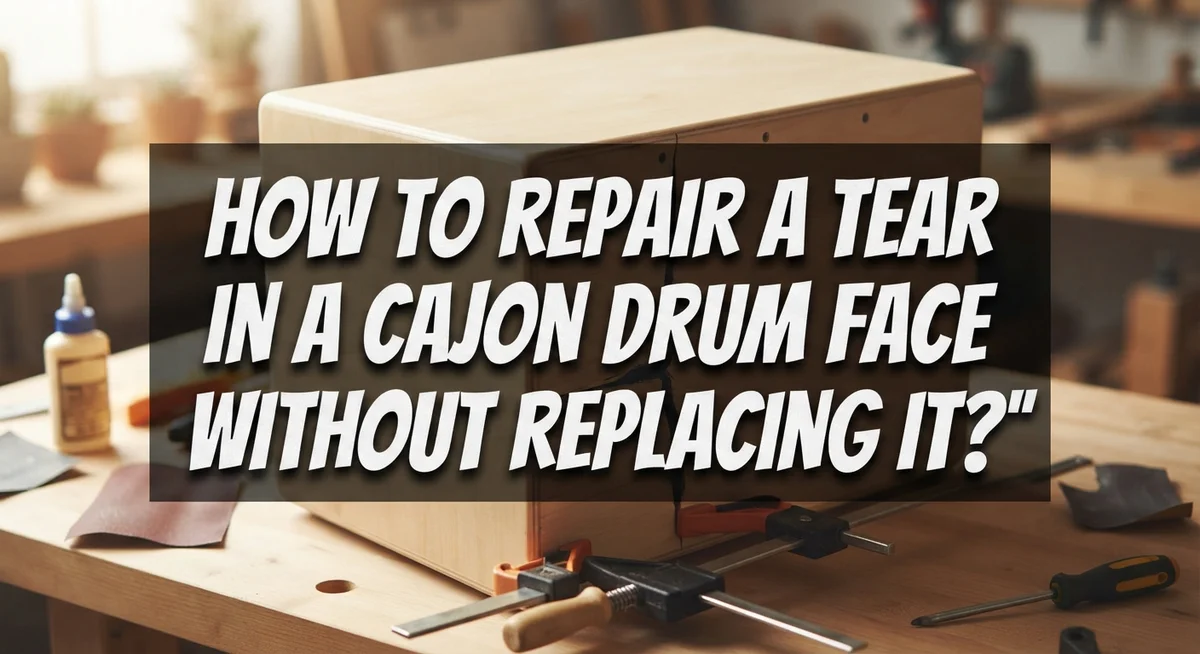
How to Repair a Tear in a Cajon Drum Face Without Replacing It?
A tear in your cajon drum face can feel like the end of the world. You love your drum. You do not want to buy a new one.
The good news is simple. Most tears do not need a full face replacement. You can fix them at home with a few basic tools and some patience.
This guide walks you through the whole repair process. We cover small tears and wide cracks. Each type needs a slightly different fix.
You will learn how to use two-part epoxy to secure a patch over small tears. We also explain the widening and filling method for bigger cracks. This includes a neat trick called triangulation that keeps the wood stable.
In a Nutshell
- Small tears need a simple fix. Apply two-part epoxy under an oval patch. This holds the skin firmly in place.
- Wide cracks need more work. Widen the crack slightly with a thin saw blade. This helps the filler bond better.
- Fill the gap with a thin wood slice. Use a needle file to triangulate the edges. This step stops the crack from spreading further.
- Always match your patch material to the original drum skin. This keeps the tone consistent across the whole surface.
- Sound quality stays intact after most repairs. A patched cajon still delivers the same rich bass and crisp slap tones.
- Only consider a full replacement if the damage is extensive. Most tears and cracks respond well to a simple repair job.
- Avoid rushing the process. Proper crack prep and enough filler material make the difference between a lasting fix and a repeat problem.
Understanding Cajon Face Tears: Causes and Types
A cajon drum face tear happens for specific reasons. Understanding what causes the damage helps you prevent future problems and choose the right repair method.
Moisture and humidity create the most common tears. Wood naturally expands and contracts as moisture levels change. When your cajon sits in damp environments, the drum skin absorbs water and swells. As the air dries out, the skin shrinks back. This constant stretching and shrinking weakens the material over time and causes cracks to form.
Impact damage is another frequent cause. A hard knock or drop puts sudden stress on the drum face. The skin may tear immediately or develop a weak spot that fails later during normal playing.
Age and wear affect cajon durability too. Drum skins naturally dry out and become brittle after years of use. A skin that has lost its flexibility cracks more easily than a fresh one. Regular playing also creates stress points where tears start.
Temperature swings also damage cajon faces. Moving your drum from a cold room to a warm one causes rapid expansion. The skin cannot adjust fast enough, and small tears appear.
Tears come in different types based on their shape and size. Small puncture tears look like tiny holes or short splits. These tears stay in one spot and do not spread. Long cracks run across the drum face in straight lines. Jagged tears have uneven edges and irregular shapes. Wide cracks have visible gaps between the separated wood or skin pieces.
Each tear type needs a different repair approach. Small punctures respond well to simple patching methods. Wide cracks require filling the gap before you add a patch. Jagged tears need careful preparation to ensure the patch sticks properly.
Identifying your specific tear type helps you pick the best repair technique and get the strongest results.
Tools and Materials You’ll Need for the Repair
Before you start fixing your cajon drum face, gather the right supplies. Having everything ready makes the repair smoother and faster.
Two part epoxy is your main adhesive. This type bonds wood and skin materials together with strength. Mix it according to the package instructions just before you apply it. One part hardens faster than the other, so timing matters.
You will need patch material that matches your drum skin. The best patches come from similar cajon skin or replacement drum head material. Cut your patch slightly larger than the tear itself. This overlap helps the epoxy grip the surrounding area.
A thin saw blade works well for widening cracks before filling them. This step sounds odd, but it actually helps. Wider cracks accept filler material more easily than narrow ones. The blade should be thin enough to fit inside the crack without forcing it.
Wood filler or thin wood slices fill the gaps in wide cracks. Choose filler that matches your cajon’s wood color. Some repairs need both filler and skin patches working together.
Grab a needle file or small triangular file for smoothing. After you apply filler, you may need to shape it flush with the drum face. This tool gives you precision control.
Keep sandpaper in medium and fine grits on hand. You will smooth the repair area after the epoxy dries completely. This step blends the patch into the surrounding skin.
Clamps or weights hold patches in place while epoxy sets. You need pressure for proper bonding. Towels or cloth pads protect your drum face from clamp marks.
Finally, gather clean cloths and rubbing alcohol. You will wipe away excess epoxy before it hardens. Clean tools also prevent contamination during mixing.
Prepare your workspace with good lighting and a flat surface. Organization saves time and reduces mistakes during the actual repair work.
Assessing the Damage: Small Tear vs Wide Crack
A small tear and a wide crack require different assessment approaches. You need to understand what you’re dealing with before you pick a repair method.
Small tears typically measure less than one inch across. These tears often appear as clean splits in the drum skin. You can usually see straight through them to the wooden frame below. Small tears respond well to simple epoxy and patch repairs. The damage stays surface level, so your fix will be quick and effective.
Wide cracks span more than one inch and may branch into multiple directions. These cracks sometimes go deeper into the wood itself. You might notice the crack has rough or splintered edges. Wide cracks need more preparation work before you apply any adhesive.
To assess your specific damage, look at the tear’s length first. Measure it with a ruler or measuring tape. Next, examine the edges carefully. Smooth edges mean a clean tear. Rough or jagged edges suggest impact damage or stress fracturing.
Check the depth by looking at the tear from different angles. Does light shine completely through? That’s a surface tear. Can you see wood fibers separating? That indicates the damage goes deeper.
Feel the area around the tear gently. Is the skin still flexible? Flexible skin means the surrounding area remains healthy. Stiff or brittle skin suggests moisture damage or age related issues.
The key difference is this: small tears need patch coverage and adhesive strength. Wide cracks need gap filling plus structural support. Your assessment determines whether you use a simple patch method or the more involved crack widening and filling technique.
Take your time during assessment. A few minutes now prevents mistakes later. Once you know your tear type, you can gather the exact materials and tools you need for success.
Step-by-Step: Repairing Small Tears with Epoxy and Patches
Small tears respond well to a straightforward repair method using epoxy and patches. This approach works because the adhesive bonds strongly with matching skin material, creating a durable fix that restores the drum face.
Start by cleaning the tear area thoroughly. Use rubbing alcohol and a clean cloth to remove dust, debris, and any oils. Let the area dry completely before moving forward. A dry surface helps the epoxy bond much better to your cajon.
Cut your patch material from matching drum skin. The patch should extend at least half an inch beyond the tear on all sides. An oval shape works better than a square because rounded edges blend more smoothly with the surrounding surface.
Prepare your two part epoxy according to the instructions. Mix only the amount you need for this repair. Working time matters here, so move quickly once you combine the parts.
Apply epoxy to both the tear area and the back of your patch. Spread it evenly across the entire patch surface. Press the patch firmly onto the tear, making sure all edges make contact with the drum face.
Use clamps or weights to hold the patch in place while the epoxy cures. Check your epoxy’s instructions for the exact curing time. Most epoxy needs 24 hours to reach full strength, though some sets faster.
Once fully cured, sand the repair area gently with fine grit sandpaper. Sand only enough to smooth the edges where the patch meets the original surface. Be careful not to sand too aggressively, as this can damage both the patch and the drum face around it.
Your repair should now be complete. The patch creates a strong seal that prevents the tear from spreading further. The bond holds well during normal playing and keeps your cajon functional for years to come.
Step-by-Step: Fixing Wide Cracks with the Triangulation Method
Wide cracks need a different approach than small tears. The triangulation method works well because it stabilizes the crack from multiple angles and prevents it from spreading further.
Start by examining your crack carefully. Look at its length and check if it branches in different directions. Wide cracks often have irregular edges that need preparation before you fill them.
Use a thin saw blade to widen the crack slightly. This sounds counterintuitive, but creating a uniform opening helps your filler material bond better. Make the widened crack slightly V shaped if possible. This shape grips the filler material more effectively than straight sides.
Cut a thin wood slice to fit inside the widened crack. The slice should be slightly thicker than the crack opening. You want it to fit snugly without forcing it. Apply two part epoxy to both sides of the wood slice before inserting it.
Push the wood slice into the crack carefully. Use a small tool to ensure it sits flush with the drum face. Let the epoxy cure according to the manufacturer’s instructions.
Once the epoxy sets, sand the area smooth. Use medium grit sandpaper first, then switch to fine grit for a cleaner finish.
Now apply the triangulation technique. Use a needle file or small triangular file to create tiny anchor points around the repair area. Make three to four small marks in a triangle pattern around the crack. These marks help stabilize the repair and distribute stress evenly.
Apply a thin layer of epoxy over the entire repaired area. This seals everything together and strengthens the triangulation points. Let this final layer cure completely.
Sand the entire repair area gently with fine grit sandpaper. Your cajon drum face should now be stronger and ready to play. The triangulation method prevents the crack from reopening under playing pressure.
Tips for a Seamless, Durable Repair
A seamless, durable repair depends on several practical techniques that keep your cajon sounding great for years to come.
Patch material matching is your first priority. Your patch must come from drum skin that matches your cajon’s original face. When the materials match, the repair blends in visually and maintains consistent sound quality across the entire drum surface. Mismatched patches create weak spots where sound can distort.
Epoxy application technique makes a huge difference in durability. Apply epoxy generously to both the tear area and the back of your patch. This double coating ensures strong adhesion on all sides. Don’t skimp on the epoxy, as insufficient adhesive is a common mistake that causes repairs to fail within weeks.
Proper curing time prevents premature failure. Leave your repair undisturbed while the epoxy sets completely. Use clamps or weights to hold everything in place. Check your epoxy instructions for exact curing times, which vary by product type. Rushing this step compromises the entire repair.
Smoothing the surface creates a seamless finish. Once fully cured, sand the repair area gently with fine grit sandpaper. Use light pressure and circular motions to blend the patch into the surrounding drum face. This step removes rough edges and creates an even playing surface.
Testing before use protects your investment. Tap the repaired area gently with your fingers before playing the cajon normally. Listen for any unusual sounds or hollow spots. If the repair feels solid and sounds consistent with the rest of the drum, you’re ready to play.
These techniques work together to create repairs that last. Your attention to detail during each step directly affects how long your repair holds up to regular playing and handling.
Common Mistakes to Avoid During Repair
Making mistakes during cajon repair can turn a small problem into a big one. Understanding what to avoid saves you time and keeps your drum sounding good.
Inadequate filler material causes most repair failures. When you have a wide crack, you need enough filler to completely support the space. If you skimp on filler, the repair will flex and crack again during playing. The filler material must be solid and level with the surrounding surface.
Not preparing the crack properly before filling leads to weak repairs. You must clean out any loose debris, dust, or old adhesive from the tear area. A dirty crack prevents the epoxy from bonding correctly. Take time to remove everything inside the damaged area using a small brush or compressed air.
Mismatched patch materials create visible repairs that look unprofessional. Your patch should come from the same type of drum skin as your cajon. Using different material changes how the repair looks and can affect how that area vibrates. Always test your patch material on a hidden spot first.
Rushing the curing process destroys your hard work. Epoxy needs full time to harden before you sand or play the drum. Applying pressure too early or sanding before the epoxy sets completely weakens the bond. Follow the manufacturer’s timing exactly.
Applying too much epoxy creates messy repairs that need extensive sanding. You only need enough adhesive to coat both surfaces. Excess epoxy drips onto the drum face and hardens in visible spots.
Finally, avoid skipping the smoothing step. Rough repairs catch dirt and can split again. Gentle sanding with fine grit paper creates a smooth surface that looks intentional and lasts longer.
These mistakes are easy to prevent with patience and attention to detail.
Final Thoughts
Repairing a tear in your cajon drum face is a simple project anyone can handle with patience. You don’t need to replace the entire face or spend money on professional repairs. Small tears and wide cracks both have proven solutions that work well.
The key takeaway is this: your repair method depends on the damage size. Small tears need a patch and epoxy. Wide cracks require the triangulation technique with a wood filler piece.
Sound quality remains mostly unaffected after a proper repair. Your cajon will still produce the same tones and bass you love. This means you can fix your drum without worrying about ruining its sound.
Taking time with each step matters more than rushing through the process. Careful preparation leads to lasting results. Skipping steps or using wrong materials creates problems down the road.
Remember that patch material should always match your original drum skin. This keeps your repair looking clean and blending naturally with the rest of the surface.
Testing your repair after it cures gives you confidence before your next performance. Play a few beats and listen carefully. Your ears will tell you if everything sounds right.
Most tears can be fixed at home without special tools or expensive supplies. A few basic materials and some patience go a long way. This saves you money compared to buying a brand new cajon.
Don’t let a tear stop you from playing your instrument. With the right approach, you can fix the problem and get back to making music. Your cajon deserves this care, and so does your wallet.
Take your time, follow these steps, and enjoy a drum that sounds and looks great again.
Frequently Asked Questions
Will a repaired tear affect the sound of my cajon?
No, a properly repaired tear has minimal impact on sound quality. The cajon produces sound through vibration of the drum face, and a well executed repair doesn’t change this. Your instrument will sound nearly identical to before the damage occurred.
What materials work best for patching a tear?
Use two-part epoxy adhesive paired with a patch made from matching drum skin material. The epoxy creates strong bonding, while the matching skin ensures the repair blends seamlessly. Avoid mismatched materials, as they create visible repairs and weaker adhesion.
When should I replace the drum face instead of repairing it?
Repair is viable for most tears and small cracks. Consider full replacement only if the damage is extensive, covers a large area, or if multiple tears make the face structurally weak. A single tear, even if moderately sized, typically calls for repair rather than replacement.
How long does the repair take to cure before I can play again?
Two-part epoxy usually cures within 24 hours, though some formulas set faster. Check your specific adhesive’s instructions for exact timing. Wait the full curing period before playing to ensure the patch bonds completely and holds under tension.
Can I repair wide cracks differently than small tears?
Yes, wide cracks need special handling. Widen the crack slightly with a thin saw blade, then fill it with a thin wood slice. Use a needle file to triangulate and stabilize the repair. This technique prevents the crack from reopening under playing pressure.

Hi, I’m Tessa! As a lifelong music lover and gear enthusiast, I started this blog to help fellow musicians navigate the overwhelming world of instruments and equipment. I spend my time researching, comparing, and reviewing musical gear so you can spend yours doing what matters most — making music.