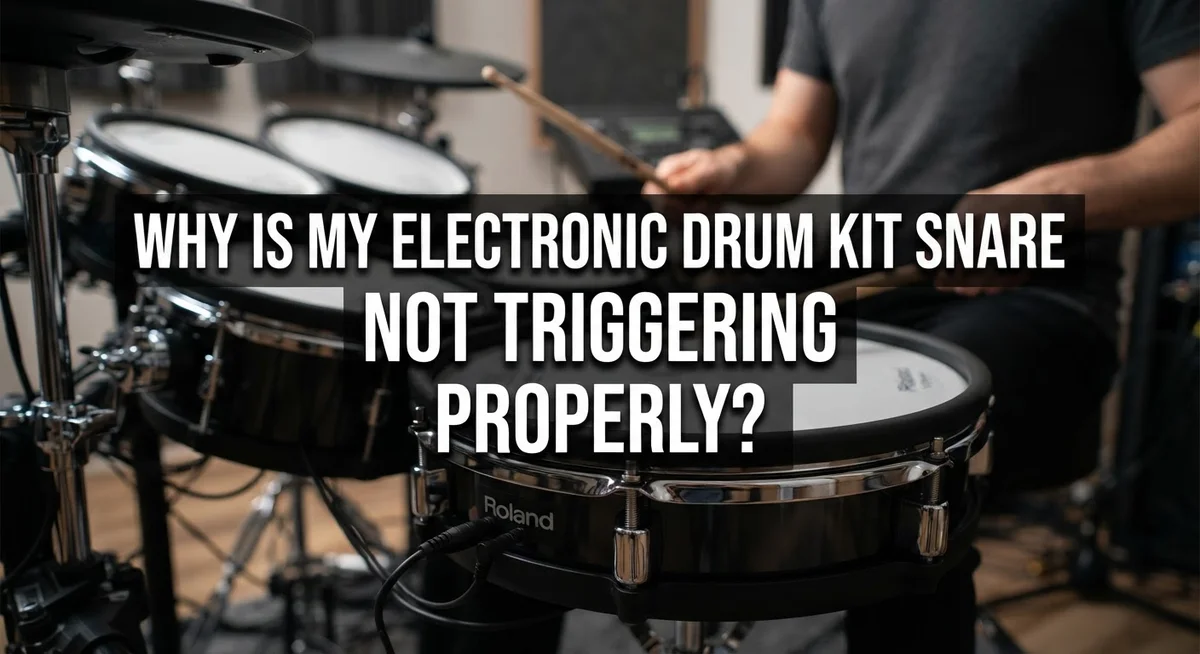
Why Is My Electronic Drum Kit Snare Not Triggering Properly?
You hit your snare pad, but nothing happens. Or worse, you get a sound sometimes and silence other times.
This is one of the most frustrating problems for electronic drum kit owners. Your snare is often the heart of your beat. When it stops responding, your whole groove falls apart.
The good news is that this issue is usually fixable. Most snare triggering problems come from a few common causes. These include faulty sensors, loose cables, or outdated firmware.
Sometimes the head trigger fails. Other times, the rim trigger acts up instead. Each part can break down on its own, so you need to test them separately.
In this guide, we will walk through why your snare stops triggering properly. You will learn how to check your cables, test your sensors, and update your module firmware.
By the end, you will know exactly how to diagnose the issue. You will also learn how to get your snare working like new again.
In a Nutshell
Check your cables first. A faulty cable is often the real problem. Swap it with another pad’s cable to test this quickly.
Try a factory reset. This clears any hidden glitches in your module. It solves many triggering issues right away.
Update your firmware. Old firmware can cause pads to stop responding. This step gets skipped too often.
Test the rim separately from the head. These two triggers work independently. One can fail while the other works fine.
Reconnect pads after resetting. Loose connections cause silent failures. Always check each cable is secure.
Isolate the problem before assuming pad failure. Test cables, connections, and settings first. Your sensor might actually be fine.
How Electronic Snare Triggers Work
Electronic snare triggers work through a simple but precise system. When you hit your snare pad, a sensor beneath the surface detects the impact. This sensor sends a signal through a cable to your drum module. The module then converts that signal into sound.
Your snare pad actually has two separate triggers. The head trigger sits under the playing surface where you normally strike. The rim trigger sits around the edge and responds to rim shots. These two triggers work independently. One can fail while the other still functions perfectly.
The sensor itself is a piezo element. It’s a small component that responds to vibration and pressure. When you strike the pad, the sensor measures how hard you hit and how fast. This information travels instantly to your module through the cable connection.
Your drum module receives the trigger signal and looks up what sound to play. It checks your current drum kit settings and plays the matching snare sound. Everything happens in milliseconds, so you hear the sound right away.
Cable connections are critical to this process. The cable carries electrical signals from your pad to the module. A loose connection breaks this signal path completely. Your pad triggers, but the module never receives the message. That’s why the snare stays silent even though you’re hitting it correctly.
The module also stores settings for each trigger. It remembers sensitivity levels, which sounds to use, and how loud each pad should be. If these settings get corrupted or reset unexpectedly, your snare may stop responding even if the hardware works fine.
Understanding this trigger system helps you troubleshoot faster. You’ll know whether to check the sensor, test the cable, or reset your module settings. Each component plays a specific role in the triggering chain.
Common Causes of Snare Triggering Problems
Your snare pad stops working for a few main reasons. Let’s break down what actually goes wrong inside your kit.
Sensor failures happen when the piezo element inside your pad wears out or gets damaged. This small component detects when you hit the pad and sends a signal to your module. Once it fails, the pad becomes completely silent. The head trigger and rim trigger can fail separately, so one might work while the other doesn’t.
Cable problems are surprisingly common. Cables get bent, stepped on, or damaged over time. A bad cable stops your signal from reaching the module, even if the pad itself is fine. This is why testing with a different cable is such an important first step.
Connection issues occur when cables aren’t fully seated in their ports. Your pad might be plugged in, but not completely. This creates a loose connection that makes triggering unreliable or dead. You might notice the pad works sometimes but not always.
Module glitches can cause your snare to stop responding without any physical damage. Your drum module’s software might have a bug or corrupted setting. This is why a factory reset fixes many triggering problems instantly.
Firmware problems happen when your module’s software is outdated. Older firmware versions sometimes have bugs that affect specific pads. Updating to the latest version often solves these issues.
Faulty module sensors are less common but possible. The module itself has sensors that process incoming signals. If these fail, your snare won’t trigger even with a working pad and cable.
The key is isolating which component is actually broken. Start by testing cables first, then try a factory reset, and finally update your firmware. This process eliminates the most common causes quickly without wasting time on unnecessary troubleshooting.
Step-by-Step Diagnosis: Isolating Pad, Cable, or Module Issues
Start by testing your cable first. Unplug the snare cable from your drum module and swap it with a cable from another pad that works fine. Plug your snare pad into the module using that borrowed cable. If your snare now triggers properly, your original cable is faulty. If it still doesn’t work, move to the next step.
Next, test your snare pad itself by using it with a different cable port on your module. Unplug your snare from its usual port and connect it to the port where your tom or kick pad normally connects. Trigger the snare pad. If it now works through a different port, your original port might be damaged. If nothing changes, your pad sensor is likely the problem.
Now perform a factory reset on your drum module. This clears any software glitches that might block your snare from triggering. Check your module’s manual for the exact reset procedure, as steps vary by brand and model. After resetting, reconnect all your pads firmly into their ports. Loose connections often cause triggering failures that feel like sensor problems.
Test your rim trigger separately from your head trigger. These two triggers work independently on most snare pads. Hit just the rim of your snare. If the rim responds but the head doesn’t, your head sensor failed. If the rim doesn’t respond either, your cable or module port has the issue.
Finally, update your drum module’s firmware if available. Old firmware sometimes causes pads to stop responding without warning. Visit the manufacturer’s website and download the latest version for your specific module model.
By following these steps in order, you isolate whether the problem lives in your cable, pad, port, or module software. This systematic approach saves you time and money.
Fixing Rim Trigger Malfunctions Separately From Head Triggers
Your electronic snare has two independent trigger zones: the head (playing surface) and the rim (outer edge). Each zone sends its own signal to your drum module. When one stops working, the other may continue just fine.
Start by testing each trigger separately. Strike your snare head gently and listen for sound. Then tap the rim firmly and check if it responds. This tells you which zone is actually broken. Write down what happens with each one.
The rim trigger often fails first because it takes harder impacts than the head. The piezo sensor under the rim gets fatigued from repeated strikes. If your rim is silent but your head works perfectly, you know the problem is localized to that specific sensor zone.
Next, swap your snare cable with another pad’s cable. Connect your snare to the cable from your tom or kick pad. If the rim suddenly works with the new cable, your original cable is faulty. If it still doesn’t work, the problem is inside your snare pad or the module port itself.
After testing cables, perform a factory reset on your drum module. This clears any software glitches that might silence one trigger while leaving the other active. Reconnect your snare pad after the reset completes.
Finally, update your module’s firmware if an update is available. Firmware problems sometimes affect specific trigger zones without affecting others. Your module manual shows where to find firmware updates.
This separation process is crucial. You might assume your entire snare pad is dead when really only the rim sensor failed. Replacing just the rim trigger assembly is often cheaper than replacing the whole pad. Test methodically before making any repairs or replacements.
Performing a Factory Reset and Reconnecting Pads Correctly
A factory reset clears all settings on your drum module and returns it to original factory conditions. This step removes any software glitches that might block your snare from triggering. Most modules have a reset option buried in the settings menu, though some require holding a button during power up. Check your module’s manual to find the exact reset procedure for your specific model.
Before you reset, write down your custom settings and drum kit configurations. A factory reset erases everything, so you’ll need to reprogram your preferences afterward. This is actually helpful because it forces you to reconnect all your pads from scratch, which often fixes loose connections you didn’t know existed.
After the reset completes, reconnect your snare pad to the module’s snare port. Make sure the cable clicks firmly into place. You should hear or feel a solid connection. Gently tug the cable to confirm it won’t slip out. Do the same for the rim trigger cable if your snare has a separate rim input.
Next, test your snare head by striking it lightly. Listen for sound output. Then test your rim by tapping the outer edge. Both should trigger consistently. If only one zone works, you’ve isolated the problem to that specific sensor or cable.
Reconnect your other pads one at a time to their correct ports. Match each pad to its labeled input on the module. This methodical approach helps you catch any connection issues immediately.
After everything reconnects, power cycle your entire kit. Turn off the module, wait 10 seconds, then turn it back on. This ensures all connections register properly in the module’s memory.
Finally, check for firmware updates on your module. Many manufacturers release updates that fix triggering bugs. Visit the manufacturer’s website and download any available updates for your specific module model.
Updating Firmware to Resolve Triggering Glitches
Firmware updates fix software bugs that cause triggering failures. Your drum module’s software controls how it reads signals from your snare pad. When bugs exist in the code, your snare may not respond even though the hardware works fine.
Before you update, check your module’s manual or manufacturer website for available updates. Most drum modules have a firmware version displayed on the screen. Write down your current version so you know what you’re starting with.
Back up your settings first. Download any custom drum kits or sound configurations you’ve created. Firmware updates sometimes reset your module to factory settings. You don’t want to lose hours of custom programming.
Download the firmware file to your computer. Most manufacturers provide these files free on their support pages. Read the update instructions carefully because each module brand has different steps. Some use USB cables to transfer files. Others use SD cards or special update modes.
Connect your module to your computer using the correct cable type. Follow the manufacturer’s exact steps for entering update mode. This usually involves holding specific buttons while powering on. Never interrupt the update process. Disconnecting during an update can damage your module permanently.
The update typically takes 5 to 15 minutes. Your module’s screen will show progress. Wait until the process finishes completely before unplugging anything.
After the update completes, power cycle your entire drum kit. Reconnect your snare pad and test the triggering. Strike both the head and rim to check if both zones respond now.
If your snare still doesn’t trigger after updating firmware, the problem likely lives in your cable, pad, or module sensor. The firmware update ruled out software issues. This helps you narrow down where the actual hardware problem exists. You’ve eliminated one major cause, which moves you closer to the real solution.
Mistakes to Avoid When Troubleshooting Snare Trigger Issues
When troubleshooting your snare trigger, avoid these common mistakes that waste time and lead to wrong conclusions.
Don’t skip the cable test. Many players assume their snare pad is broken without ever testing the cable. Your cable can fail silently while your pad works perfectly. Swap your snare cable with your tom or kick cable to see if the problem moves to another pad. This simple step eliminates the cable as the culprit.
Don’t ignore both triggers separately. Your snare has a head trigger and a rim trigger. They fail independently. Test each one by striking the head gently, then the rim firmly. If only one responds, you’ve found your problem. Assuming both triggers failed together wastes troubleshooting time.
Don’t skip firmware updates during troubleshooting. Software bugs cause triggering glitches. Many players perform a factory reset but forget to update their module’s firmware afterward. Check your module’s manual for available updates. This step often fixes issues that seem hardware related.
Don’t reconnect everything at once after a reset. Plug in one pad at a time and test it. This method shows you exactly which connection has problems. Reconnecting everything simultaneously masks connection issues.
Don’t assume the module is broken first. Your module is usually the last thing to fail. Test your cable, test your pad, update your firmware, and perform a factory reset before concluding the module is faulty. Most triggering problems live in cables or sensor contacts.
Don’t rush the troubleshooting process. Take notes about what works and what doesn’t. This information helps you pinpoint the exact problem. Skipping steps or testing haphazardly creates confusion and leads to unnecessary repairs or replacements.
Final Thoughts
Snare triggering problems feel frustrating, but they almost always have a simple fix. Most issues come down to three things: your cable, your pad sensor, or your module settings. Once you test each one separately, you find the real cause fast.
Start with the easiest checks first. Test your cables before you blame your pad. Swap cables between working and non-working pads. This single step saves you hours of guesswork.
Patience matters during this process. Don’t rush through a factory reset or firmware update just to get playing again. Take your time reconnecting each pad and testing it properly. Rushing leads to missed problems and repeated troubleshooting later.
Remember that your head trigger and rim trigger work as separate parts. One can fail while the other works fine. Always test both sides of your snare pad on their own.
Firmware updates fix more problems than people realize. Many drummers skip this step and struggle with glitches that a simple update could solve. Make firmware checks part of your regular routine, not just a last resort.
Your drum module rarely causes the problem. Pads, cables, and sensors fail more often than the module itself. Keep this in mind so you troubleshoot in the right order.
If you follow each step in order, you will find the issue. Test cables, check both triggers, update firmware, and reset settings only when needed. This method works for almost every snare triggering problem you face.
Electronic drum kits need occasional maintenance, just like acoustic kits need new heads. Don’t see these issues as major setbacks. They are normal parts of owning electronic gear.
With a calm approach and the right steps, your snare will trigger properly again. Most fixes take less than an hour once you know where to look.
Frequently Asked Questions
Why is my snare pad not responding when I hit it?
Your snare pad may have a loose cable, a faulty sensor, or a software issue. Start by checking the cable connection between your pad and module. Make sure it clicks firmly into place. If the connection looks tight, swap that cable with another drum pad’s cable. If your snare works with a different cable, you found the problem. If it still doesn’t work, your pad sensor may be defective.
Should I do a factory reset on my module?
Yes. A factory reset often fixes triggering glitches caused by software bugs. Back up any custom drum kits or sound settings first. Power off your module completely. Find the reset option in your settings menu (check your manual for exact steps). After the reset finishes, power cycle your entire kit. Then reconnect your pads one at a time and test each one.
Can my rim trigger fail separately from my head trigger?
Absolutely. Your snare has two independent triggers: one on the head and one on the rim. Both can fail on their own. Test each trigger by hitting the head and then the rim. If only one produces sound, that specific trigger needs attention. This helps you pinpoint whether the problem is with one trigger or both.
What should I do if my snare still doesn’t work after testing cables?
Check for firmware updates on your module’s official website. Download the update to your computer and connect your module with the correct cable. The update usually takes 5 to 15 minutes. After it finishes, power cycle your kit and test the snare again. If triggering still fails, your module sensor may be defective.

Hi, I’m Tessa! As a lifelong music lover and gear enthusiast, I started this blog to help fellow musicians navigate the overwhelming world of instruments and equipment. I spend my time researching, comparing, and reviewing musical gear so you can spend yours doing what matters most — making music.